The 180 degree V-fold cube mechanism is a classic pop-up structure with strong visual impact. When the card opens fully to 180 degrees, a cube rises from the page and creates a clear sense of three-dimensional volume, which makes it especially suitable for greeting cards, pop-up book spreads, and creative display work.
This structure is built on the V-fold principle. Symmetrical or nearly symmetrical fold lines transform a flat sheet into a three-dimensional form. Compared with a basic V-fold, the cube mechanism introduces more connected faces, so it demands better cutting accuracy, cleaner scoring, and a more disciplined folding sequence.
Once you understand this mechanism, you can go beyond a simple cube and adapt the same logic to houses, gift boxes, buildings, and other more complex pop-up forms. It is an important step forward in advanced pop-up design.
Mechanism Category
Primary Category: 180 Degree Mechanism
Core Mechanism: V-Fold / Cube Structure / Spatial Volume Structure / Advanced Mechanism
Structural Traits: Uses a V-fold to lift several connected faces together so the card opens into a complete cube and closes back into the page
Typical Uses: Pop-up greeting cards / Pop-up book spreads / Gift-box forms / Architectural and scene presentation
Let's make one together. Here are the detailed steps:
Step-by-Step Guide
Step 1: Download the template and prepare the materials
First, download the 180 degree V-fold cube mechanism template provided on this page and print it on suitable paper.
Recommended materials:
- 200-300g cardstock, with 250g recommended for better stability
- Scissors or a craft knife
- A metal ruler for cutting and scoring support
- A scoring tool or an empty pen for fold lines
- Glue or double-sided tape
Important notes:
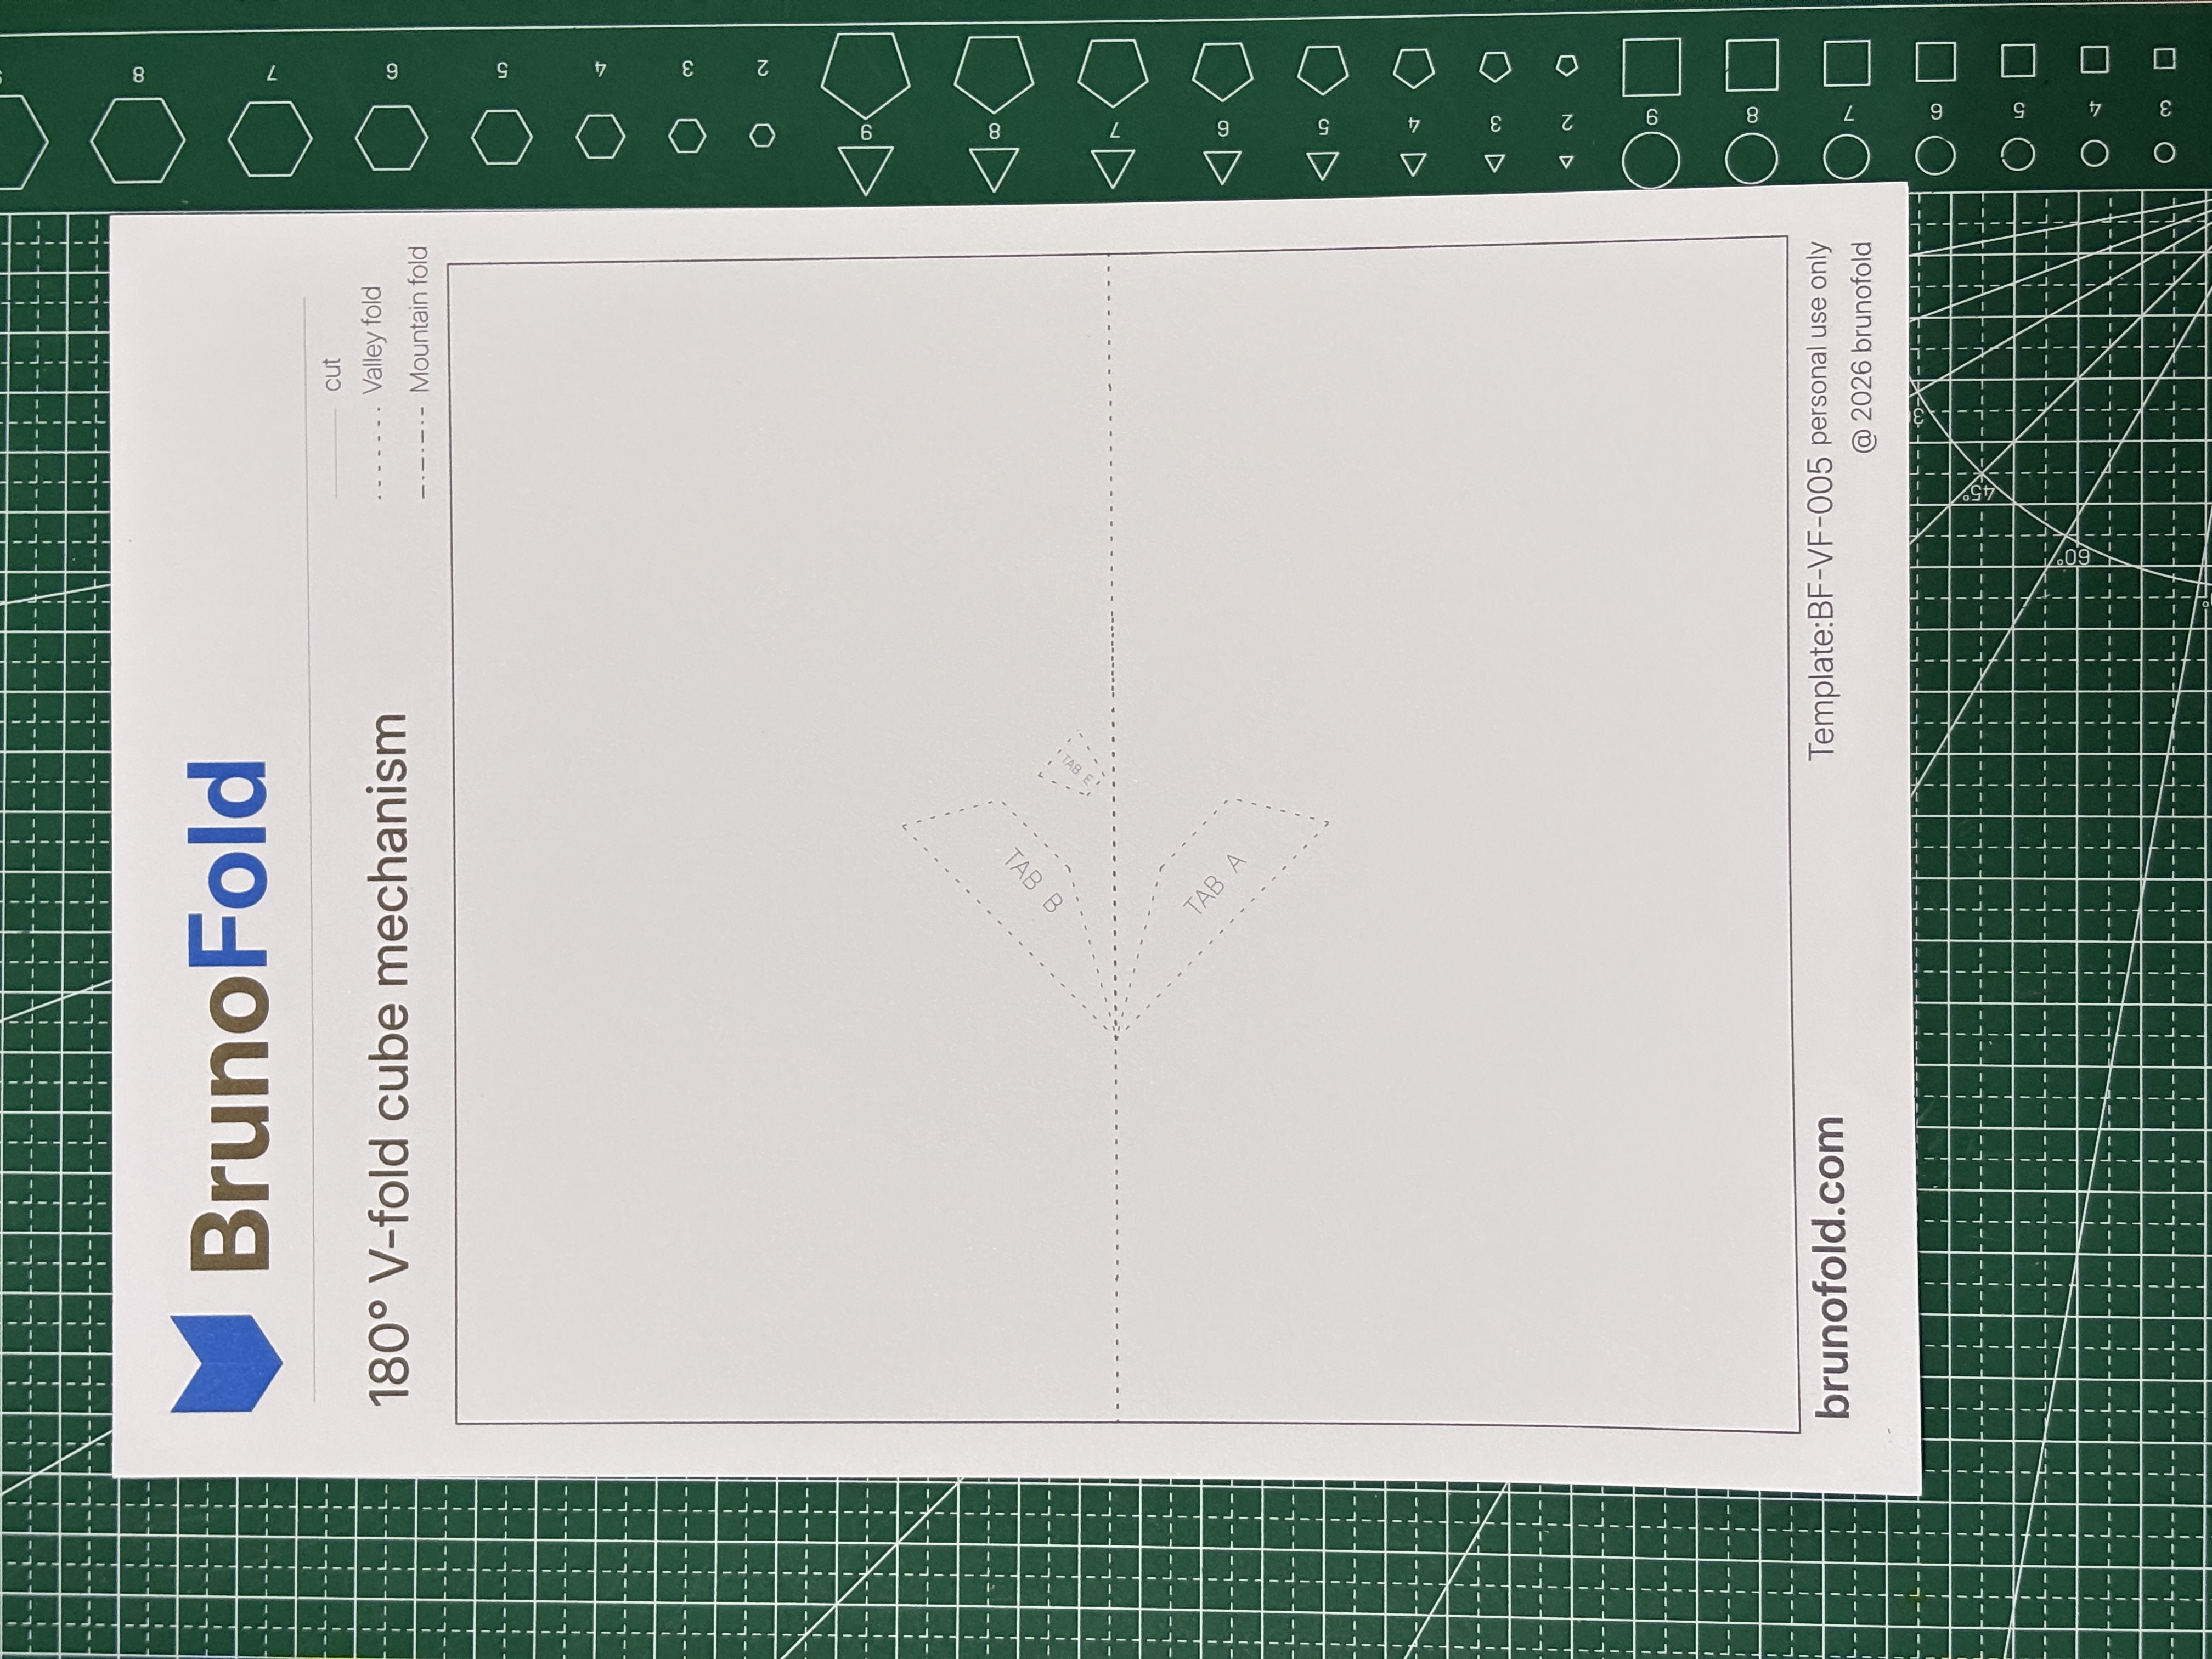
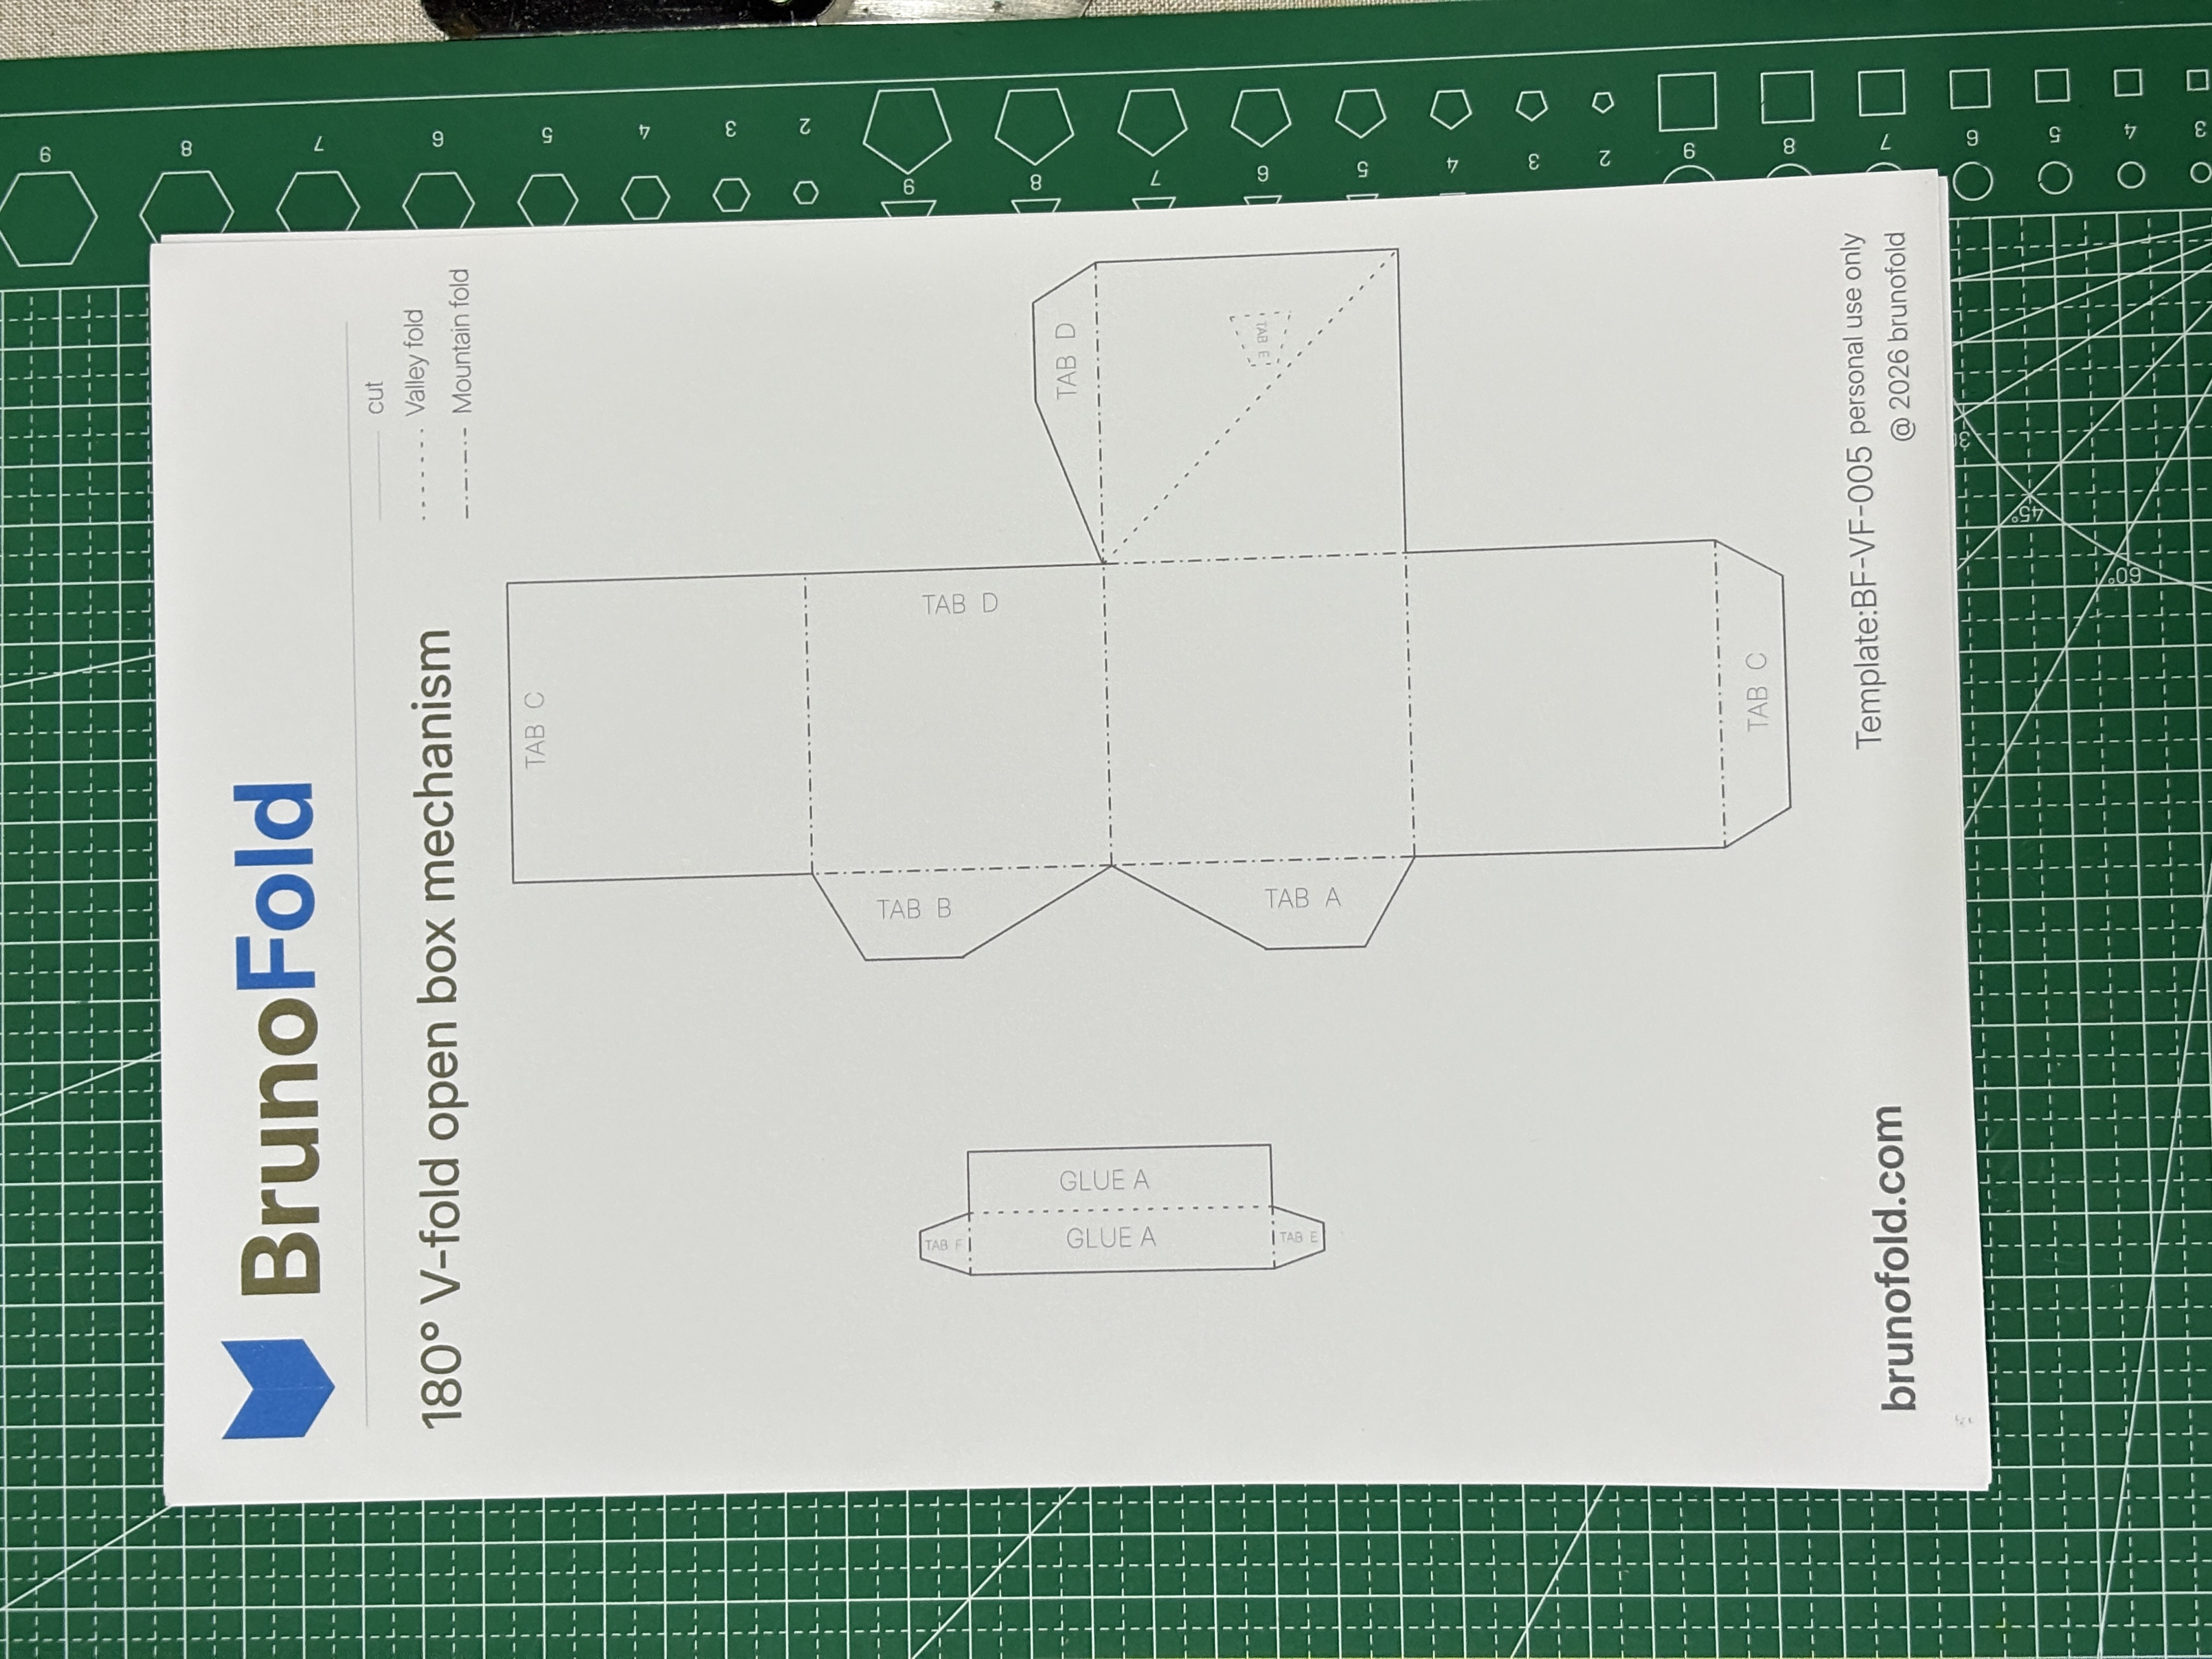
- Solid lines on the template are cutting lines
- Dashed lines on the template are fold lines and should be scored first
Before you start building, take a moment to study the overall structure. The cube is not a separate box glued together afterward. It is lifted into shape by multiple faces working together through the V-fold motion.
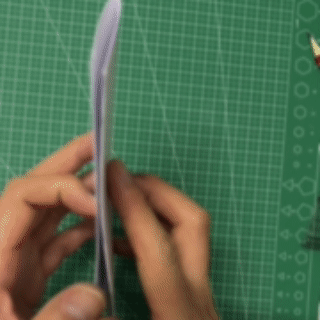
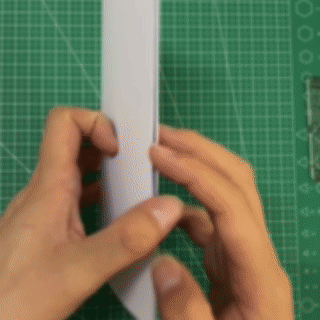
Step 2: Cut the template and score the fold lines
Cut along every solid line and keep the edges clean. That precision directly affects the final three-dimensional result.
Next, use a ruler and a scoring tool to score along every dashed line. Scoring is essential in this structure because it:
- Keeps the folds straight and accurate
- Prevents thick cardstock from cracking or deforming
- Makes the cube edges look cleaner after assembly
Helpful tips:
- Score first, then fold. Do not force thick paper by hand without preparation
- Use moderate pressure so you create a guide line rather than damage the sheet
- Be especially precise with the center lines of the V-fold, because they control the motion of the whole structure
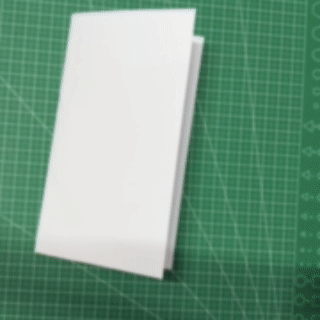
Step 3: Fold and assemble the cube in sequence
This is the most important stage because it determines whether the pop-up effect will work correctly.
1. Pre-fold every fold line
- Fold along the scored lines first
- Separate mountain folds from valley folds
- Keep the left and right sides consistent, because the V-fold needs symmetrical movement
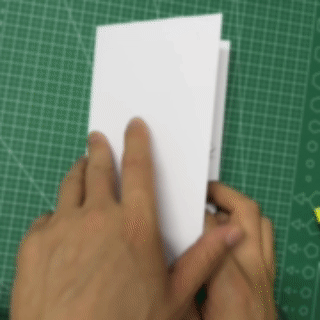
2. Build the lifting cube structure
As you close the card slowly, the center structure should begin to rise and form a solid three-dimensional block.
If you notice any of the following problems, recheck the fold directions:
- The card does not close properly
- The structure twists or pulls out of alignment
3. Glue and lock the structure in place
If the template includes TAB areas, attach them gradually:
- Align each edge carefully before pressing it down
- Do not fix everything at once; adjust while test-fitting the motion
When the card opens fully to 180 degrees, the final result should be a complete cube that pops up from the page with clear depth and layered spatial form.
Step 2 and Step 3 currently reuse the Chinese visuals because separate English versions were not provided.