The 180 degree V-fold open box mechanism is an advanced variation built from the classic V-fold. By adding support planes on both sides of the fold, the structure opens into a clear open-box volume, so it delivers both a strong three-dimensional effect and solid structural stability.
This mechanism works especially well for houses, gift boxes, scene containers, and other pop-up elements that need visible side walls or carrying space. Compared with a basic V-fold, it creates a richer visual result and is more suitable for structures that need to hold or frame content.
This guide walks through both template printing and hands-on assembly so you can build the mechanism step by step and understand the core logic behind its opening motion and support behavior.
Mechanism Category
Primary Category: 180 Degree Structure
Core Mechanism: V-Fold / Open Box Structure / Support Structure / Compound Mechanism
Structural Traits: Opens into a box-like volume, has clear side support, and keeps stable movement during opening and closing
Typical Uses: Houses / Gift boxes / Scene containers / Pop-up subjects that need carrying space
Let's make one together. Here are the detailed steps:
Step-by-Step Guide
Step 1: Prepare the materials and tools
Before you start, prepare the following materials and tools:
- A printed 180 degree V-fold open box mechanism template
- Cardstock around 250g, ideally within the 200-300g range for better stability
- A craft knife or scissors
- A ruler for scoring support
- An empty pen or a scoring tool for fold lines
- Glue or double-sided tape
- A cutting mat to protect the work surface
It is best to print the template before you begin, because the overall proportion of the structure, especially the relationship between the two side faces of the box, is easier to keep accurate that way.
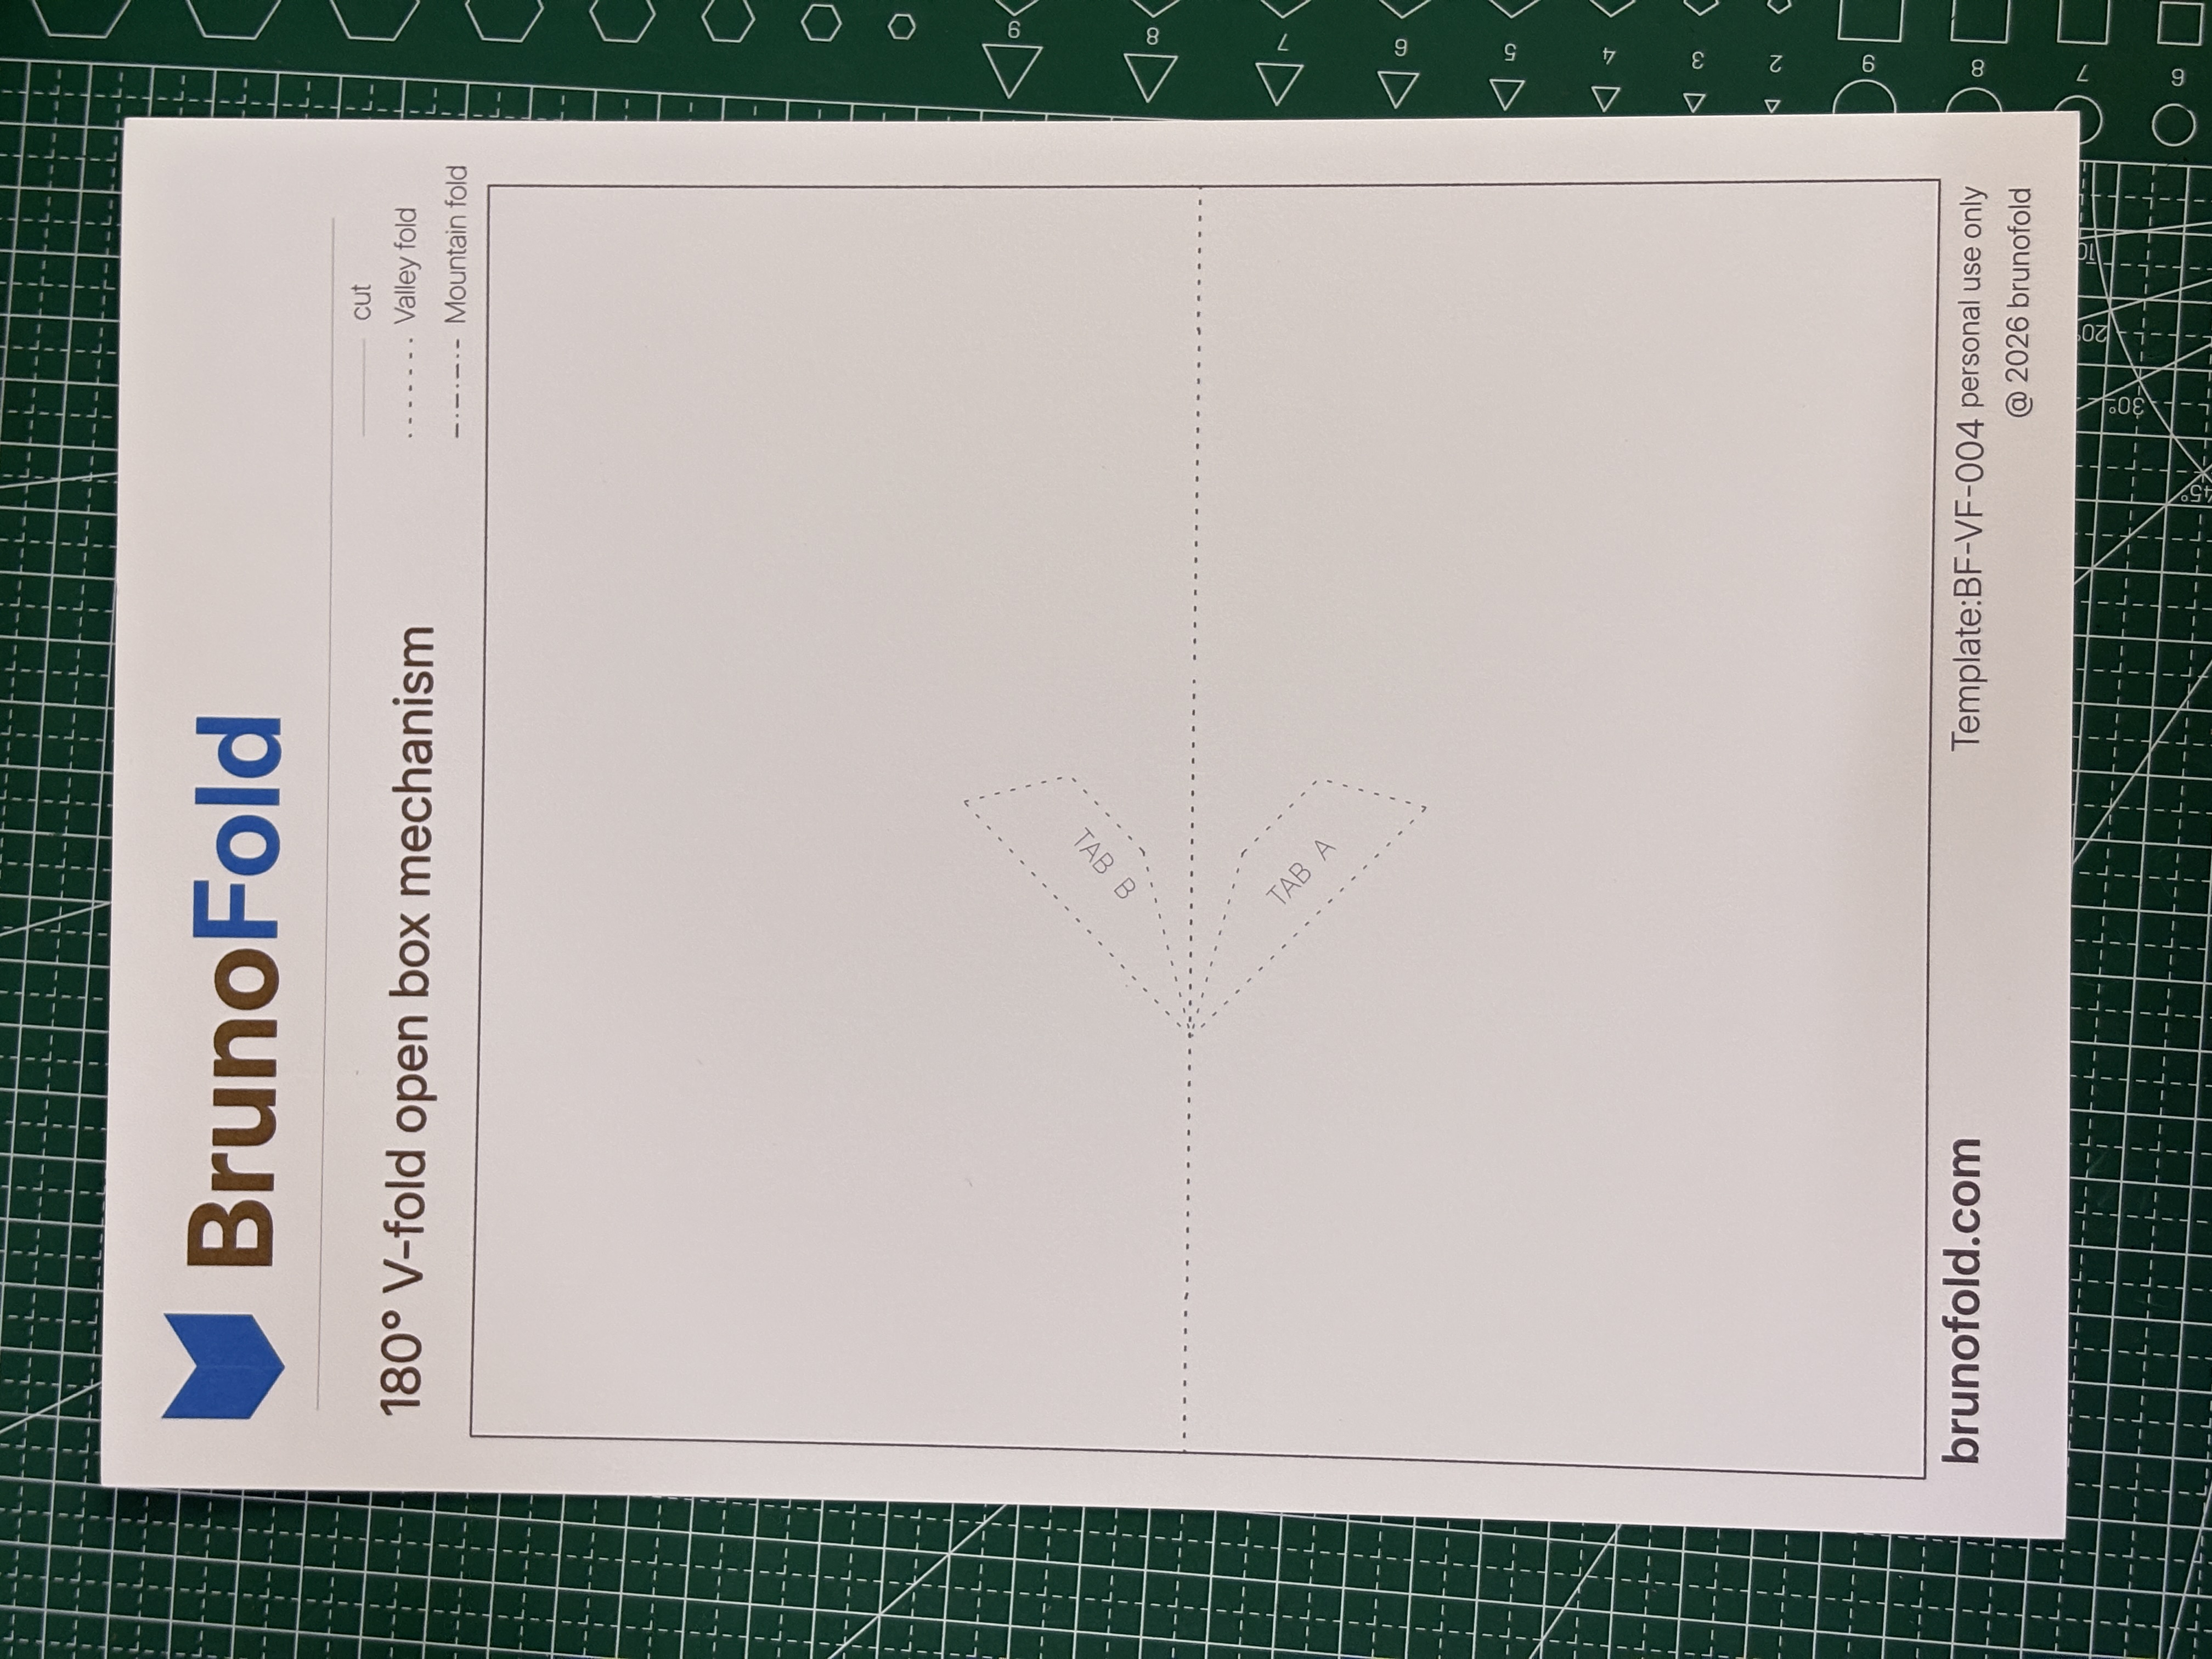
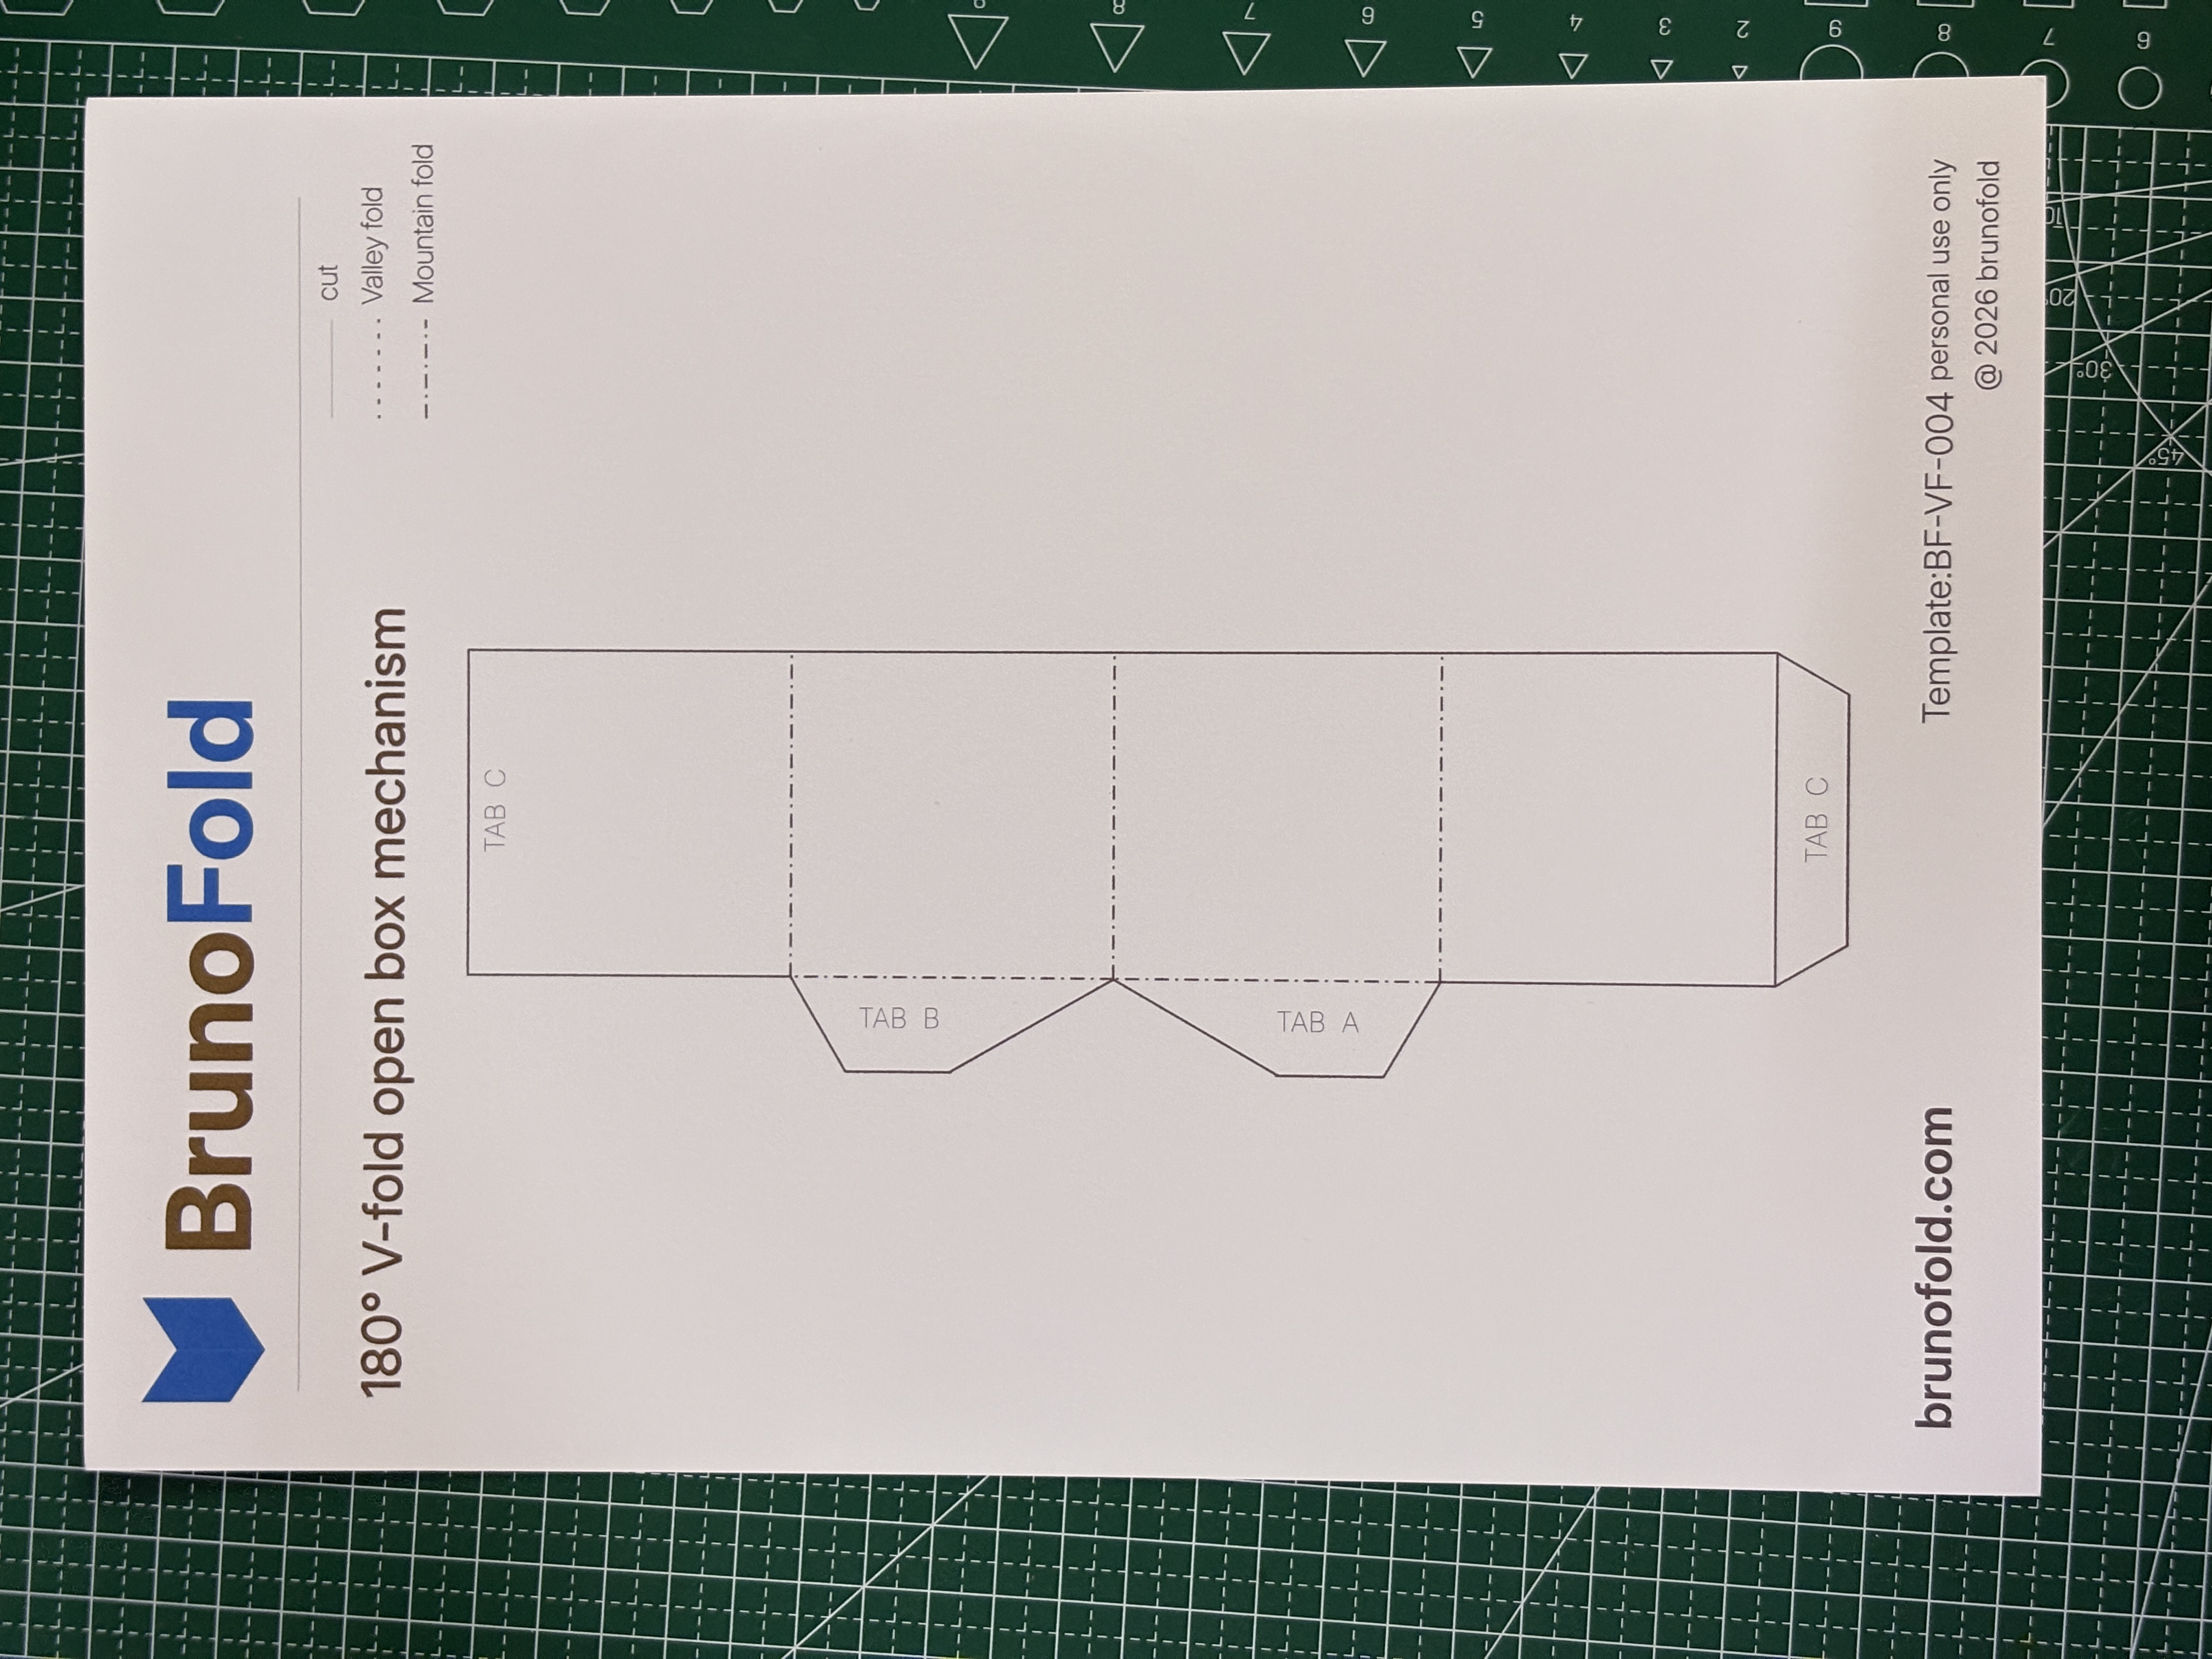
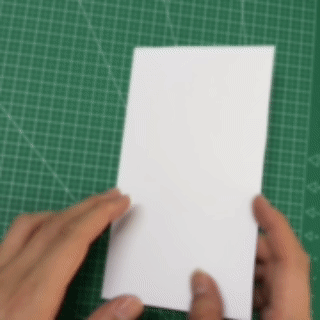
Step 2: Cut the template and score the fold lines
Place the printed template on the cutting mat and follow these rules:
- Cut along the solid lines to remove the full structural outline
- Score along the dashed lines, but do not cut through them
- Use a ruler with an empty pen or scoring tool to press lightly
- Make the fold lines clear without damaging the paper fibers
The center axis of the V-fold and the side fold lines of the box must be scored accurately. They directly affect whether the later opening stays symmetrical and whether the structure can spring open smoothly by itself.
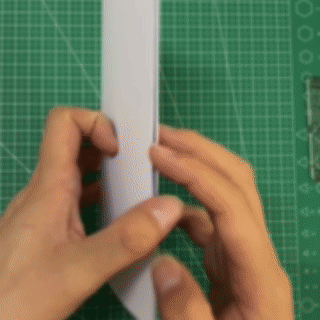
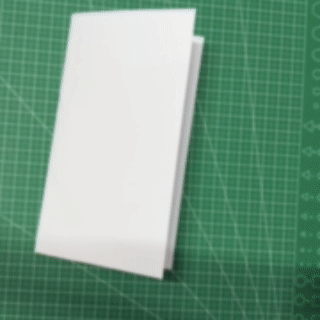
Step 3: Fold slowly and glue the structure into place
This is the most critical stage because it determines whether the mechanism will work correctly:
- Pre-fold along all scored lines first
- Separate mountain folds from valley folds
- Give every fold line a light memory crease before forcing the shape
- Form the central V-fold first and test whether it opens and closes smoothly
- Then fold the two side faces of the box so they spread outward as the V-fold opens
- Adjust the angle until the structure forms a clear open-box volume
- Glue the base tabs to the page only after the dry fit looks correct
- Close the card to check whether it can flatten naturally, then open it again to confirm that the box rises automatically
Tip: Before applying glue permanently, do a full dry-fold test once to make sure the structure does not catch, twist, or deform.
Steps 2 and 3 currently reuse the Chinese visuals because separate English images were not provided.
Next Article
180 Degree V-Fold Open Box Mechanism with Crossed Planes Guide