The 180° closed tent pop-up mechanism is a three-dimensional paper-engineering structure derived from the basic tent mechanism. Unlike the open tent version, it adds closed side faces so the structure opens into a complete spatial block, similar to a triangular prism or roof form, while still collapsing flat when closed.
Because of that enclosed volume, this mechanism works especially well for houses, mountain forms, rooftops, and other pop-up scenes that need stronger spatial definition. It is more stable than a standard tent structure, but it also requires more careful control of fold direction, center-axis alignment, and gluing accuracy.
In this tutorial, you will move from template preparation and scoring all the way to folding and final assembly, while also understanding why the structure opens into a stable three-dimensional form at 180° and hides flat again when the spread closes.
Mechanism Category
Primary Category: 180° Structure
Base Mechanism: Tent Structure
Structural Feature: Closed Structure
Spatial Form: Three-Dimensional Box-Like Mechanism
Let's build it together. Follow the detailed steps below:
Step-by-Step Guide
Step 1: Download the template and prepare the materials
Before you begin, download the template files for this tutorial. Printing on A4 paper is recommended, and the print scale should stay at 100% so the structure keeps its intended proportions.
Prepare the following basic tools and materials:
- Around 250g cardstock for better stability
- Scissors or a craft knife
- Glue or double-sided tape
- A scoring tool, such as an empty ballpoint pen
- A cutting mat, optional but strongly recommended
Using thicker paper, such as 250g cardstock, helps the closed tent structure open into a cleaner and more stable three-dimensional form without collapsing too easily.
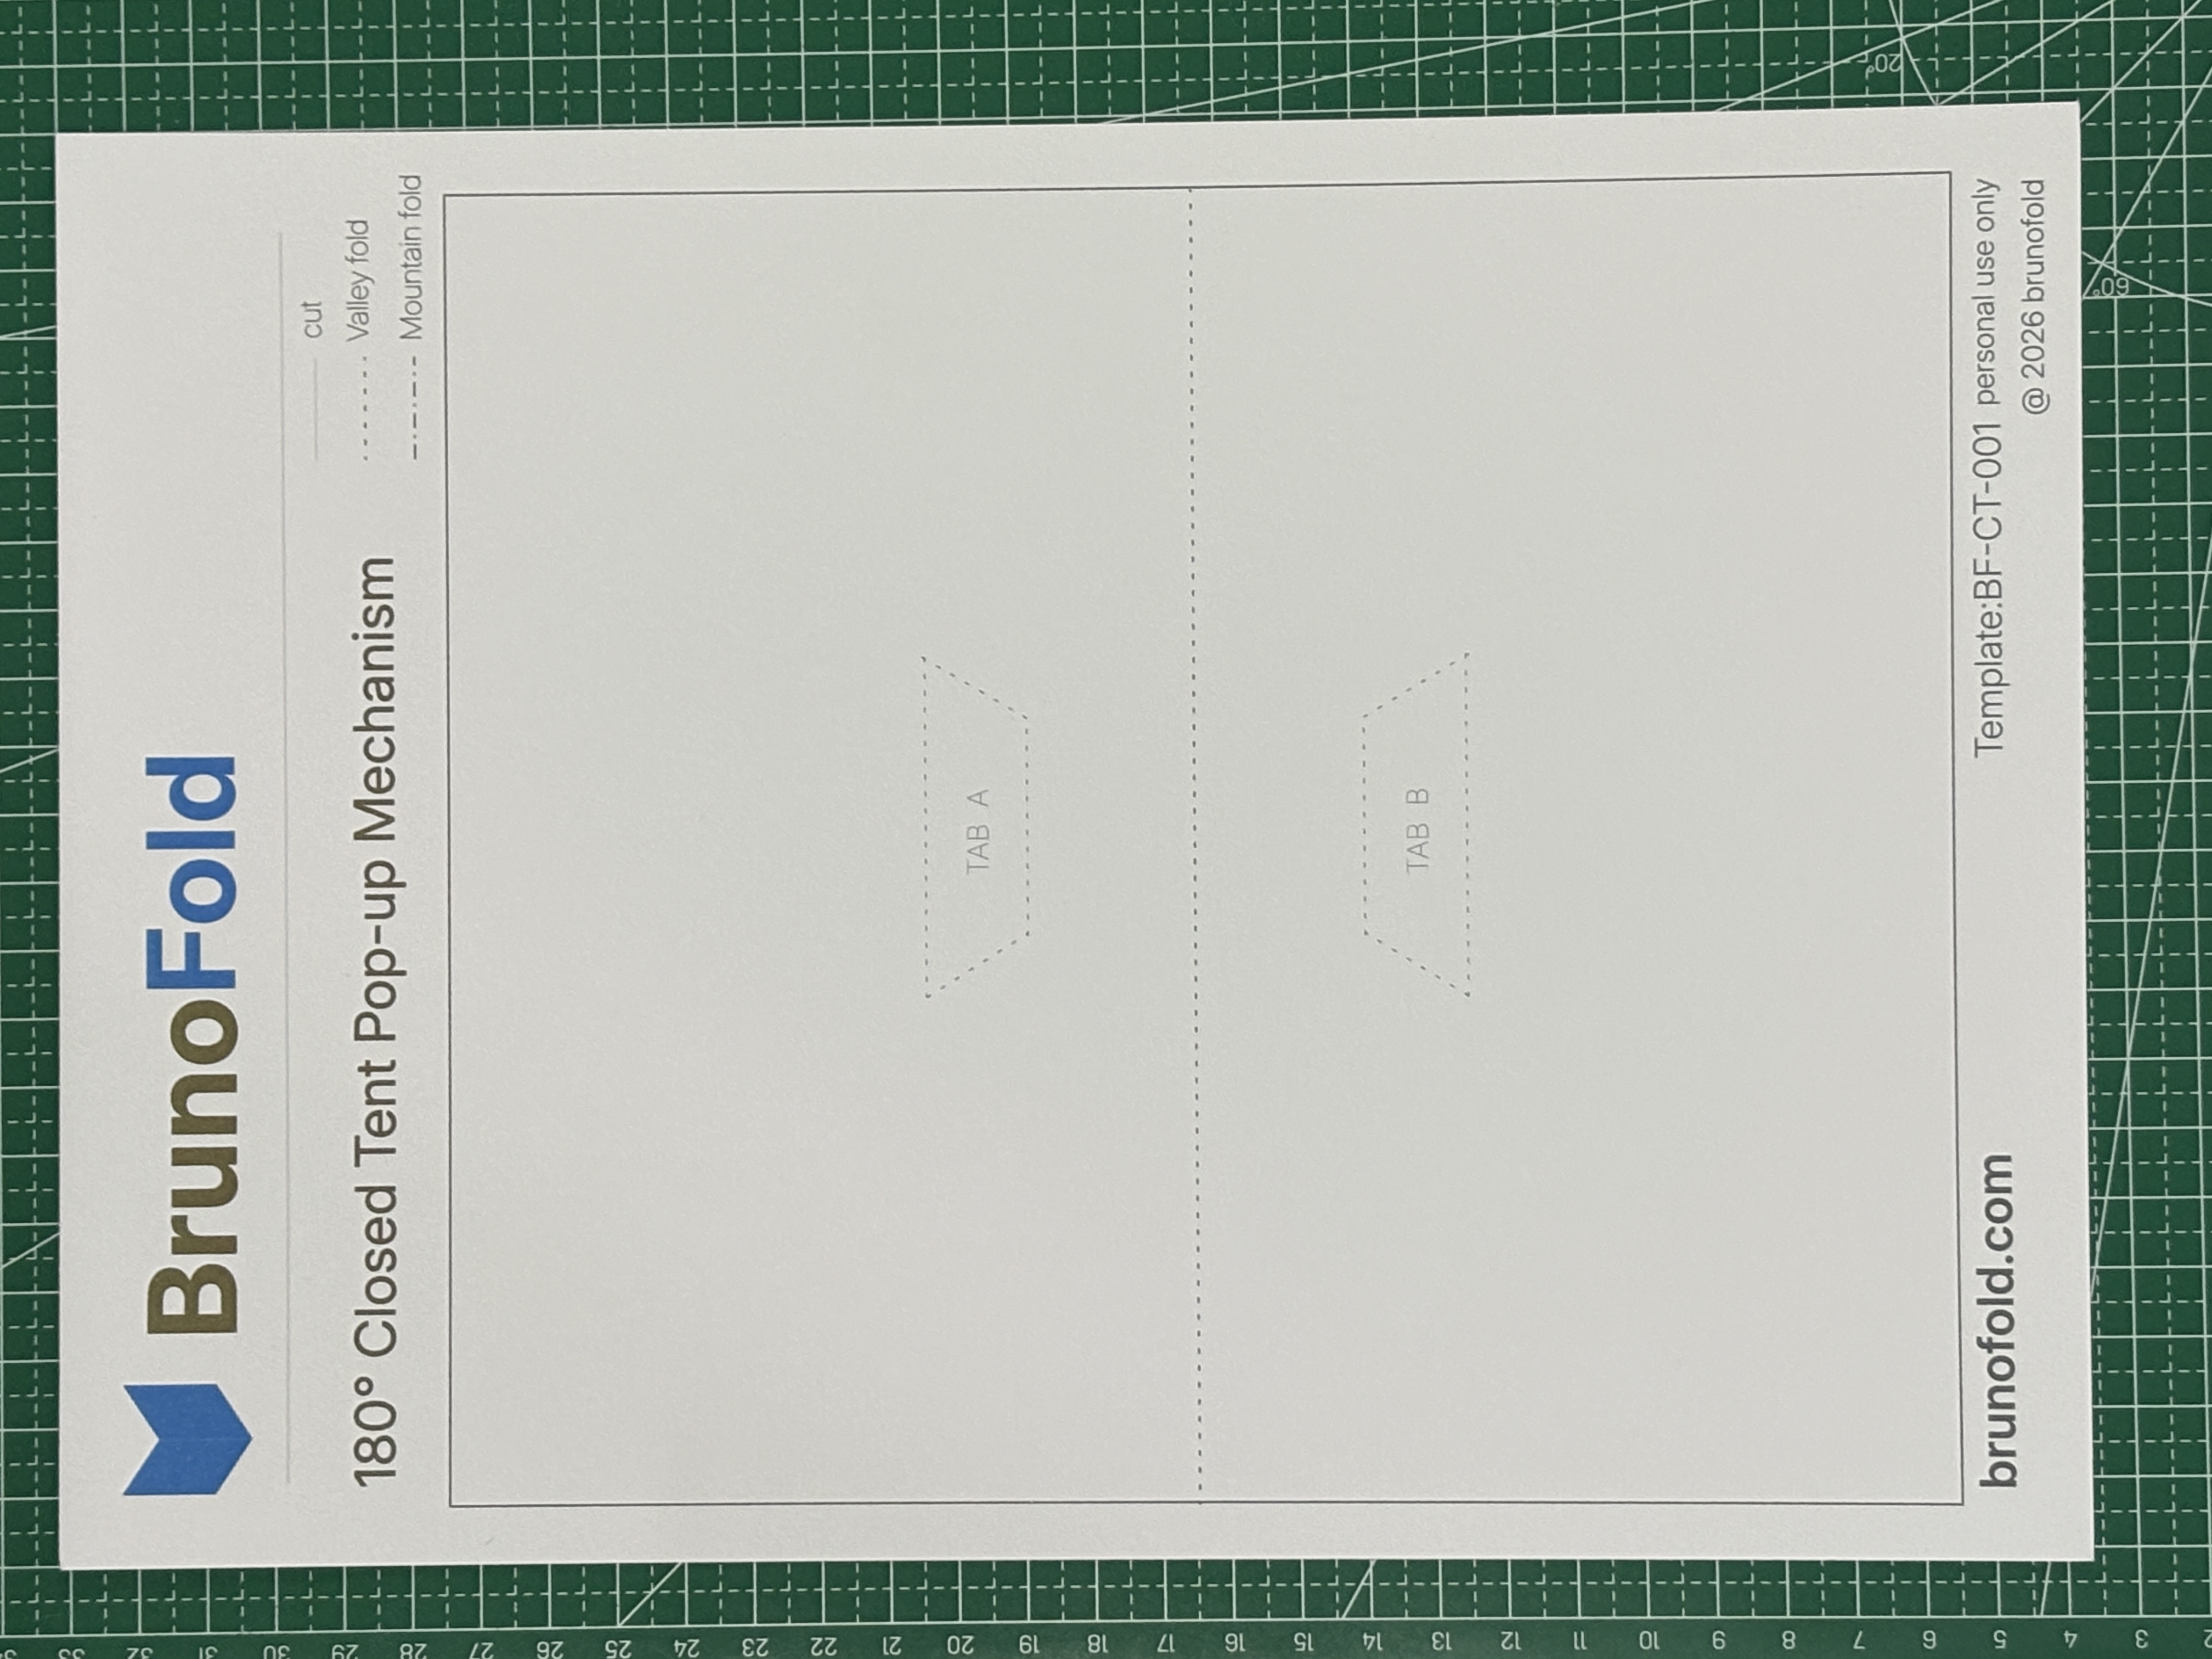
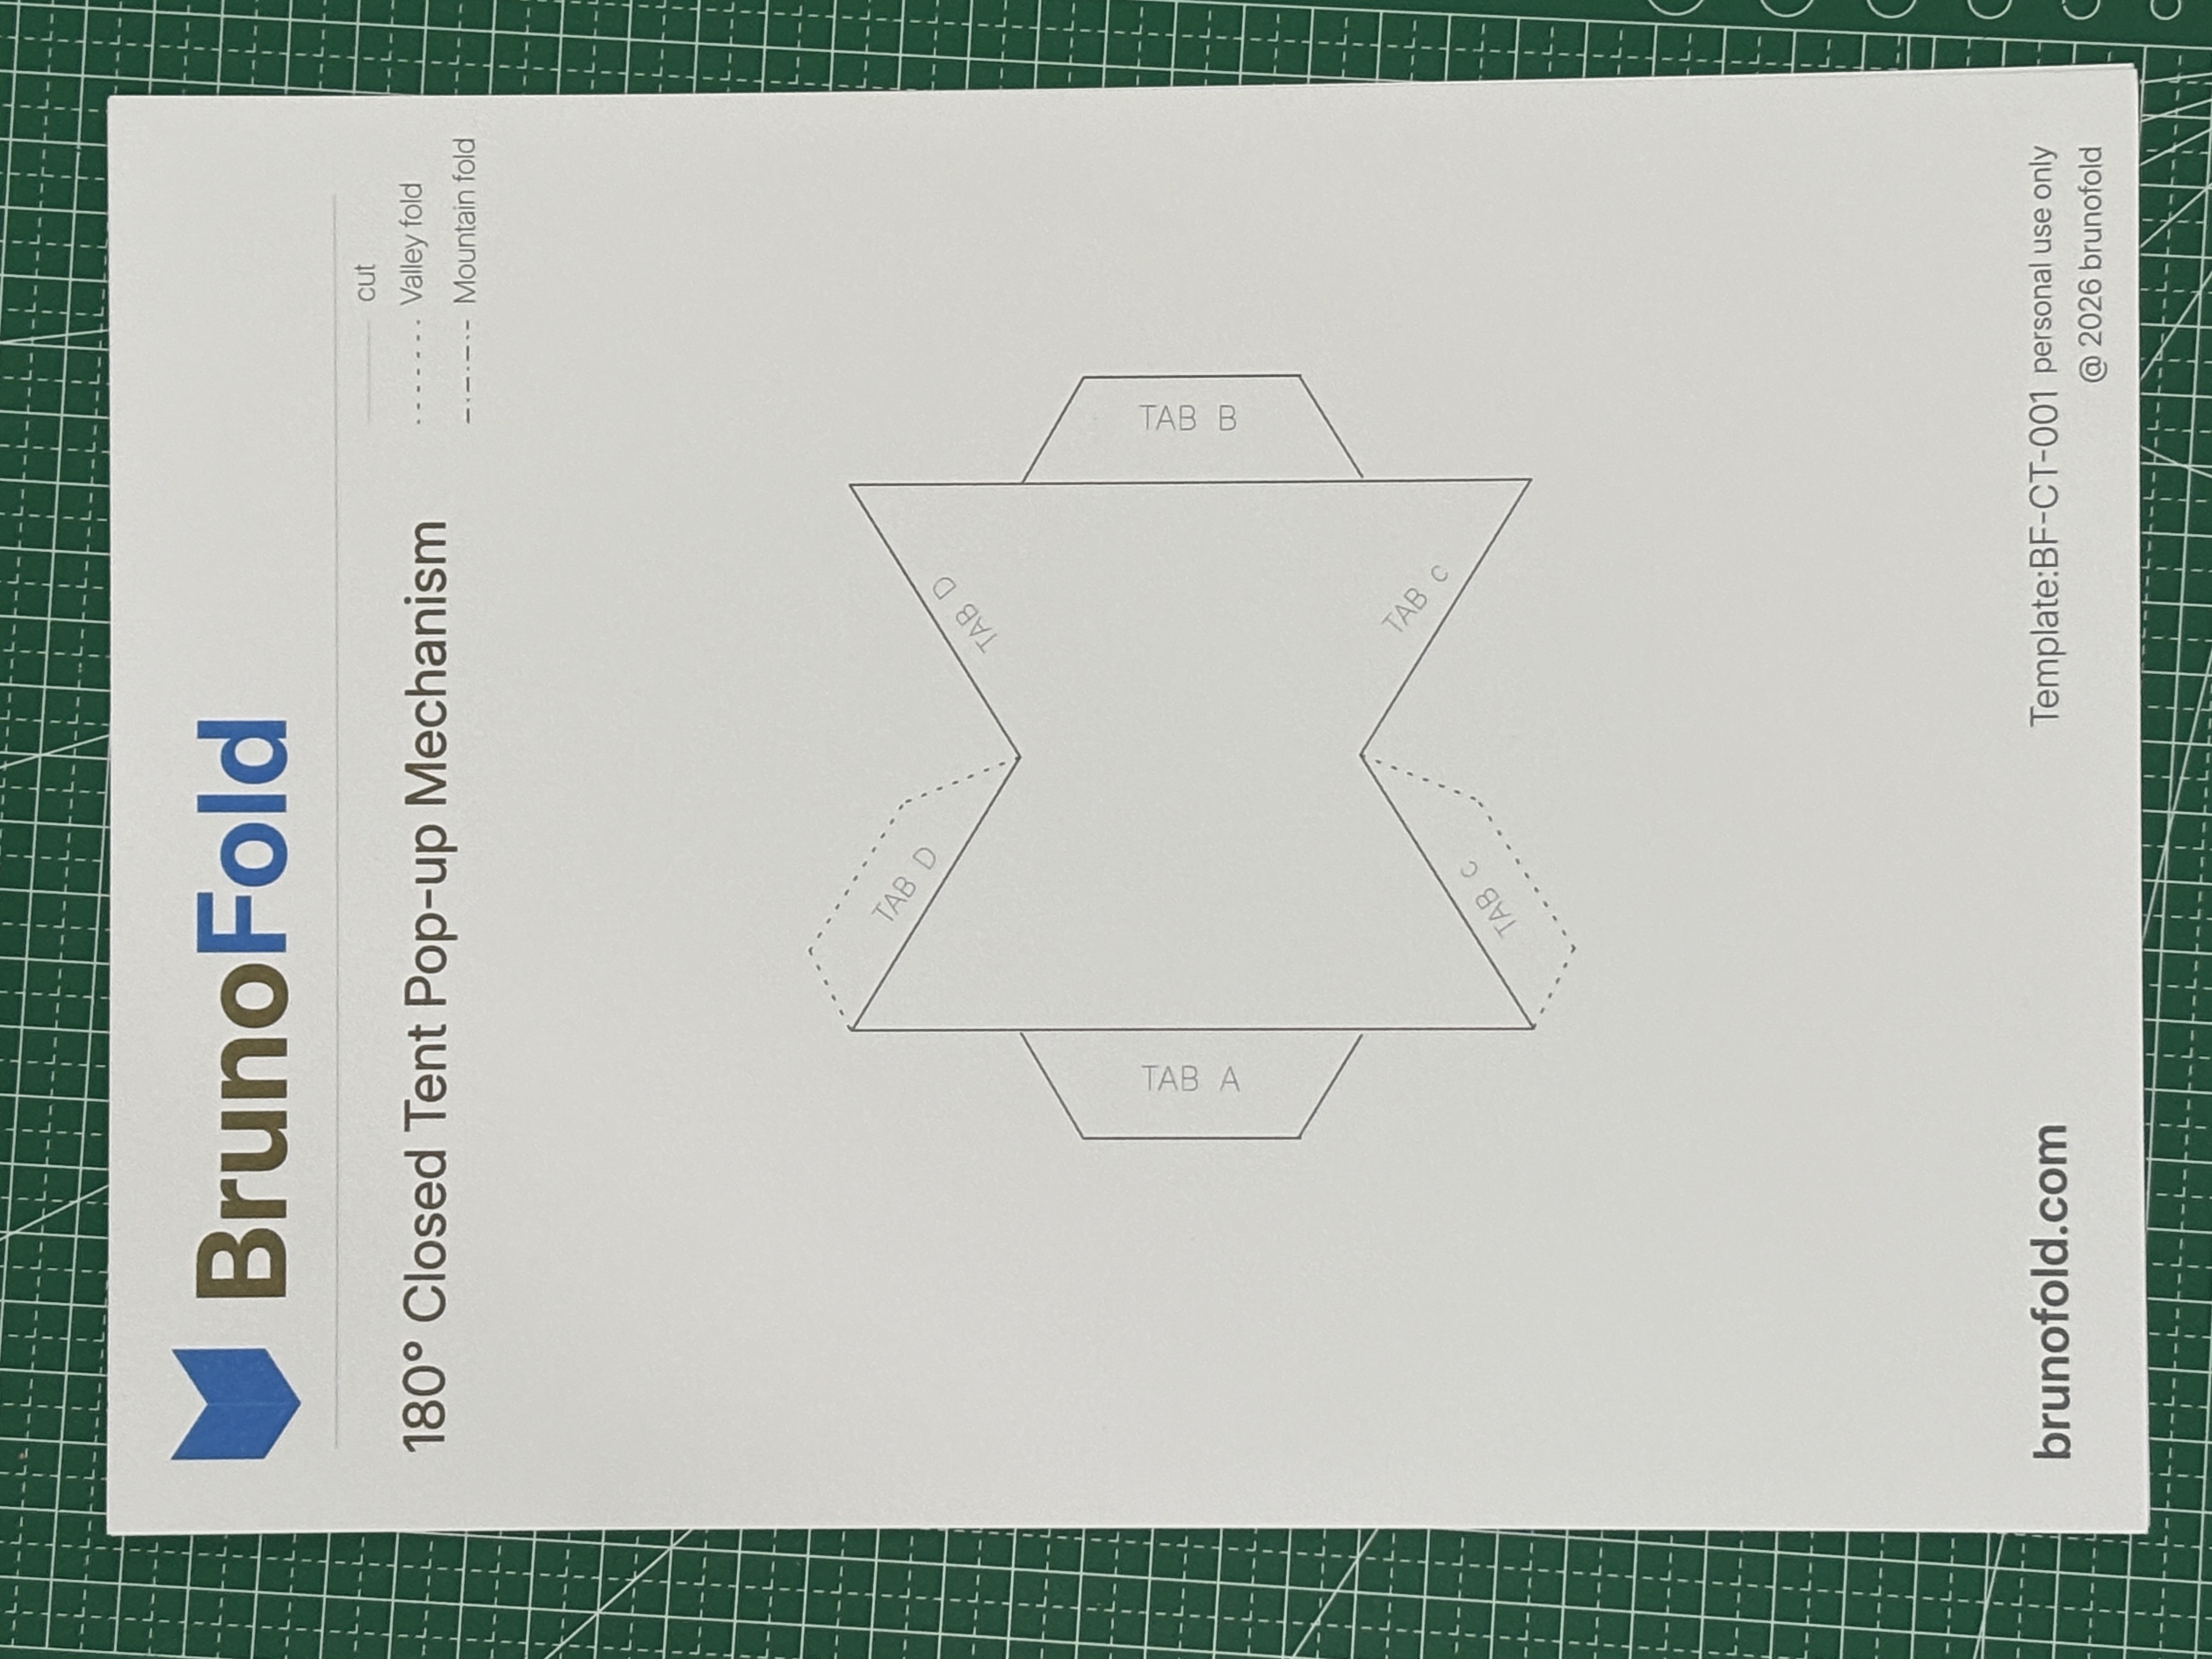
Before assembling anything, take a moment to study the template layout. Understanding the center axis, fold lines, and glue areas in advance will make the later steps much smoother.
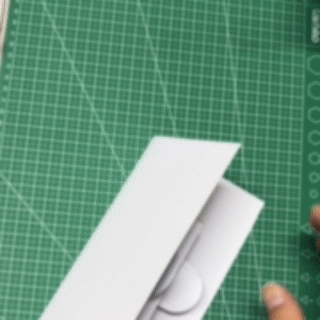
Step 2: Cut the template and score the fold lines
When cutting the template, pay close attention to the line types:
- Solid lines are cut lines
- Dashed lines are score lines and fold lines
- Any structure connected to the center axis must remain continuous and must not be cut through
For scoring, use a fairly firm blunt tool such as a scoring stylus or an empty ballpoint pen. A light, controlled pass is enough to guide the fold and keep the edges cleaner and more stable during assembly.
Key tips for this stage:
- Score the junctions between the closed side faces and the main structure clearly
- Plan the fold directions in advance, including mountain folds and valley folds
- Thick paper such as 250g cardstock gives better structure, but it also demands more precise scoring
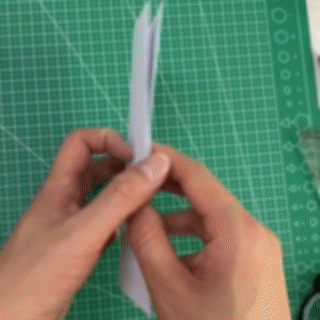
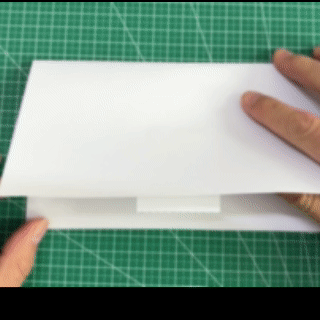
Step 3: Fold and glue the structure into shape
Start by folding the sheet along the center axis. Then gradually form the main tent body, the V-shaped core of the mechanism, so it can rise naturally when the spread opens.
Next, work on the closed side panels. Fold both side faces inward and glue them to their matching positions so the whole mechanism becomes a closed three-dimensional volume.
The main points to watch are:
- Fold both sides in sync so the structure does not twist
- Keep the center axis aligned during gluing, or the mechanism will lean when opened
- It is best to test-fold the structure before gluing anything permanently
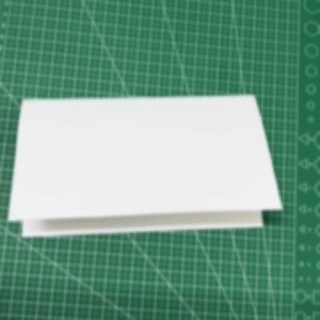
Once completed, the structure will open fully into a three-dimensional form when the page reaches 180°, and it will collapse flat again when the page closes.
Note: Step 2 and Step 3 currently reuse the Chinese visuals because separate English images were not provided.
Next Article
180° Sound Pop-up Mechanism Tutorial | A Paper Structure That Clicks as It Opens