This extended 180 degree tent mechanism is an advanced variation of the basic tent structure. By adding extension strips to the original form, the mechanism gains a larger opening span and a much broader range of visual presentation.
It keeps the stable support of a standard 180 degree opening while also allowing elements to extend forward and backward, create layered depth, and support more complex scenes, character interaction, and dynamic pop-up compositions.
Mechanism Category
Primary category: 180 Degree Structures
Core mechanism: Tent Mechanism
Extension feature: Extended Strip Structure
Structure type: Compound Structure
Let's build it step by step. Follow the detailed instructions below.
Step Guide
Step 1: Download the template and prepare the materials
Start by preparing the basic tools:
- Template paper, preferably 250g cardstock for better structural stability
- Scissors or a craft knife
- A scoring tool, or an empty ballpoint pen as a substitute
- Glue or double-sided tape
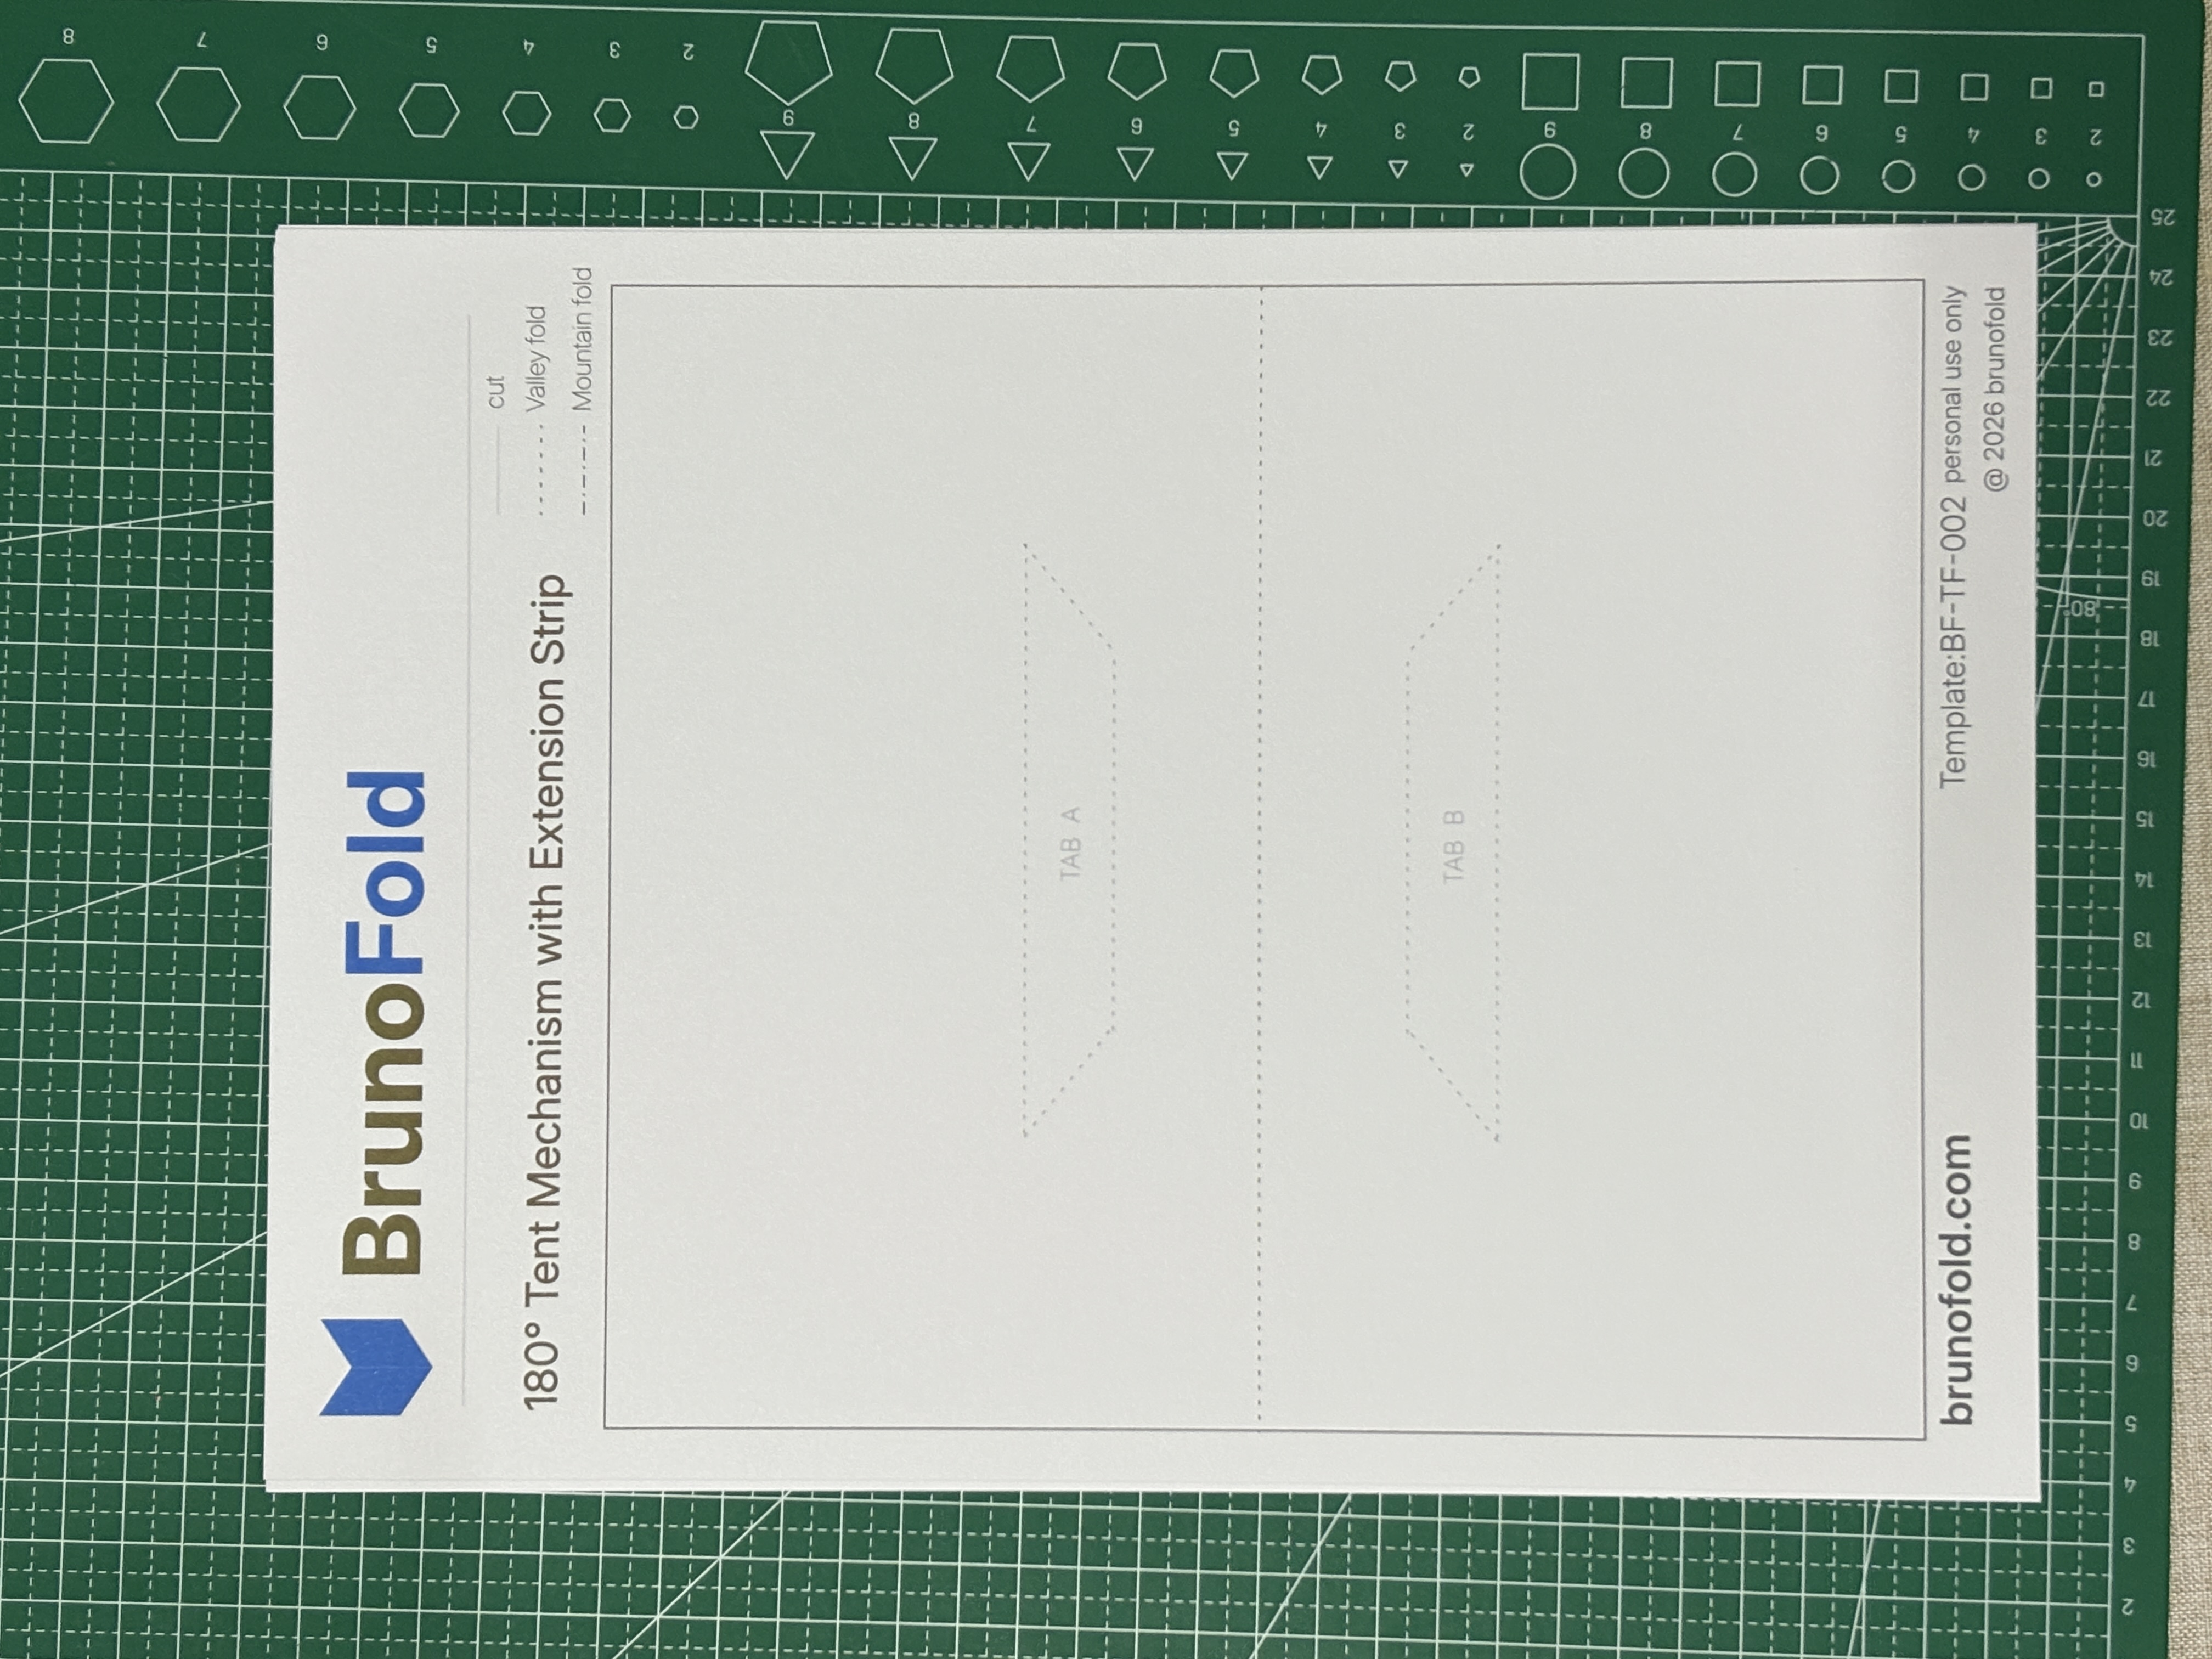
After downloading and printing the template, look at the structural layout first:
- The center section is the tent body, which creates the triangular support
- The extra parts on the sides or front are the extension strips, which are the key feature of this design
One point is especially important before you start: the extension strip is not decorative. It is the moving structure that creates the extended motion and wider display area when the card opens.
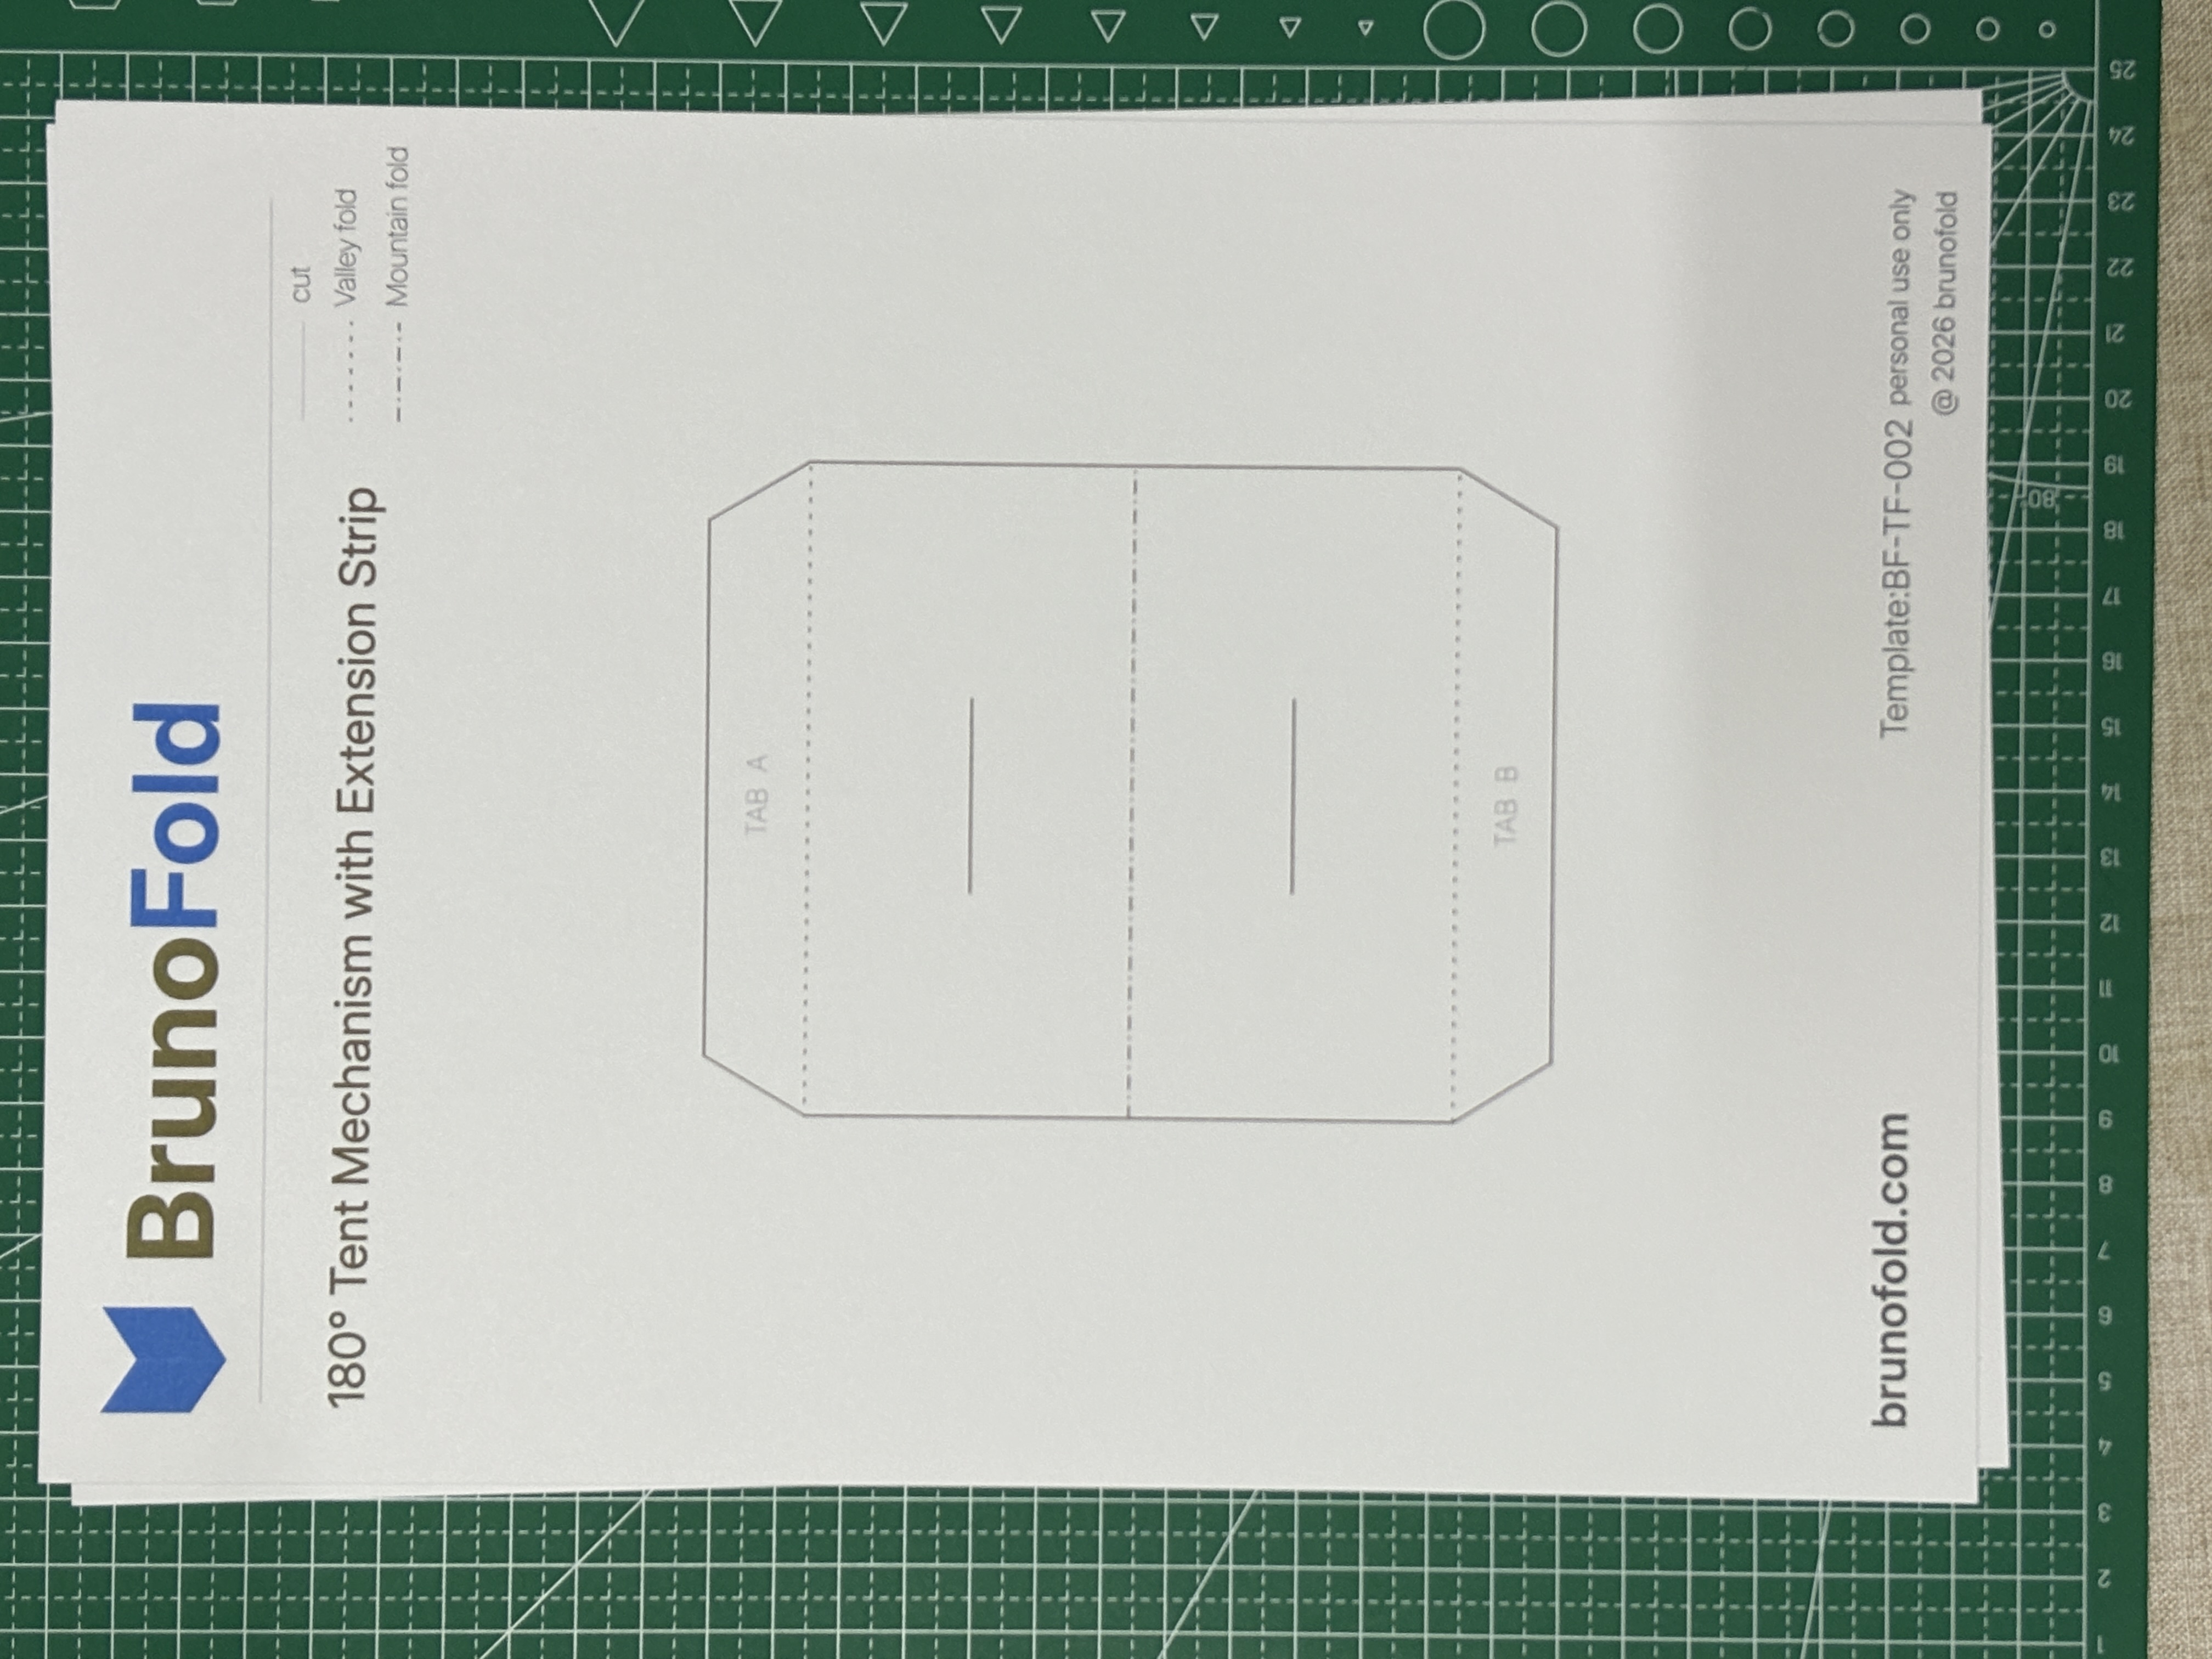
Step 2: Cutting and scoring
This step determines whether the mechanism will move smoothly later, so precision matters.
First cut along all solid lines. Make sure every outer edge is clean and accurate, including:
- The outline of the tent body
- The edges of the extension strips
- Any other exterior contour that needs to be fully cut out
Then score along the dotted lines. At this stage, you need to distinguish between two different fold systems:
- The folds of the tent body, which control the pop-up support
- The folds of the extension strips, which control the direction of extension
Try to keep the scoring:
- Straight
- Even in depth
- Firm enough to guide the fold, but not so deep that it breaks the paper fibers
It is also a good idea to pre-fold everything once before gluing:
- Pre-fold the tent section so it starts forming a triangular support
- Lightly pre-fold the extension strips in their intended direction
The goal here is not to lock the structure into shape immediately. The real purpose is to help the paper remember the motion path it will need during opening and closing.
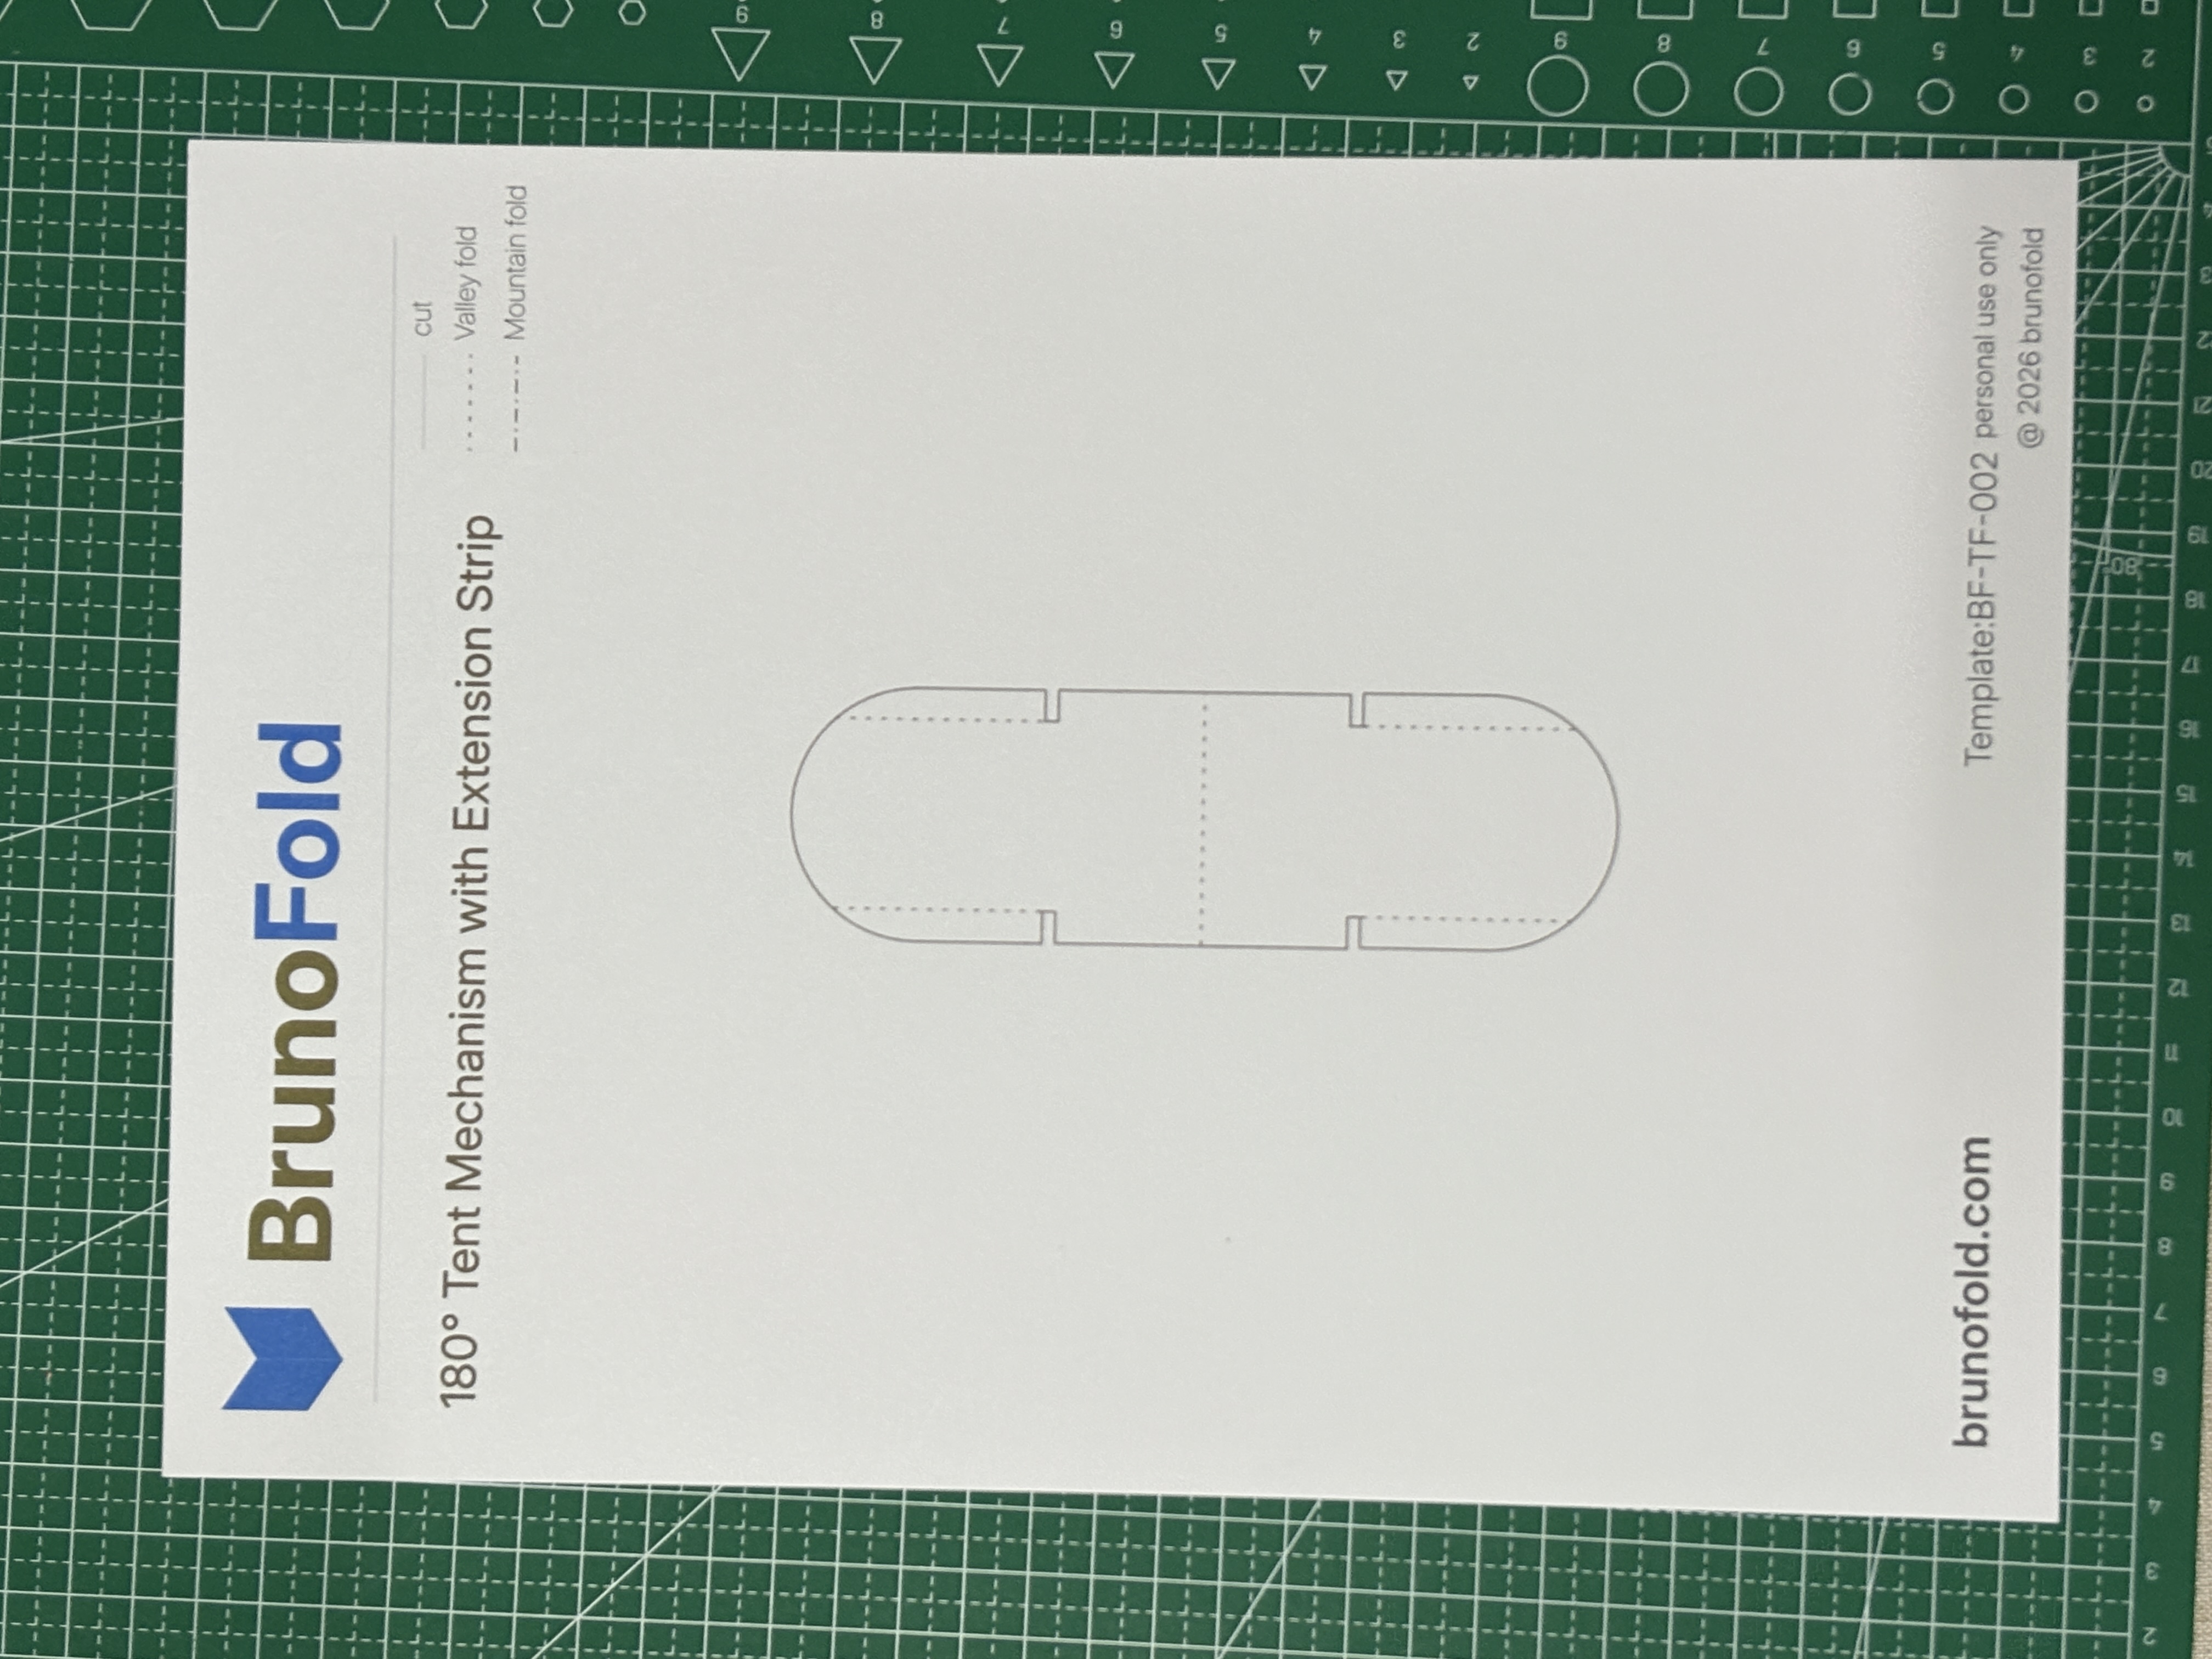
Step 3: Gluing and final assembly
This is the stage where the structure is most likely to fail, and it is also the most important part of the whole build.
Start by fixing the tent body onto the base card. Make sure that:
- The structure lies flat when the card is closed
- It forms a stable triangular support when the card is opened
- The opening and closing motion stays smooth, without twisting or collision
When you move on to the extension strips, do not glue both sides at once. The safer sequence is: position first, fix one side, then adjust.
A practical workflow is:
- Place the extension strip in the intended position without glue
- Close the card and observe how the strip sits in the folded state
- Open the card and observe the direction in which the strip expands
When it is time to glue, attach only one side first. The extension strip needs to follow the motion of the tent body, so fixing both sides too early often causes:
- Jamming
- Skewed alignment
- Incomplete opening
Then do repeated motion tests by opening and closing the card several times. Focus on these three checks:
- Whether the extension strip expands smoothly
- Whether anything catches, pushes back, or pulls too hard
- Whether the left and right sides stay visually balanced
Only after the movement feels smooth should you glue the second side. Leave a slight amount of tolerance in the paper path instead of pulling the structure tight.
Note: Steps 2 and 3 currently reuse the Chinese visuals because separate English images were not provided.
Next Article
180 Degree Reinforced Tie-Strip Arch Mechanism: A More Stable Advanced Structure