The core idea of this mechanism is to take an incomplete circle, roll the edges together, and turn a two-dimensional sector into a three-dimensional cone. The cut angle, the symmetry of the shape, and the accuracy of the glue tabs all affect whether the cone opens cleanly, stays centered, and collapses smoothly.
Because the cone has a clear geometric volume, this structure is useful both as a visual mechanism in pop-up books and as a practical study of how flat paper transforms into spatial form. It is also widely used in paper sculpture and creative packaging design.
Mechanism Category
Primary Category: 180 Degree Structure
Structure Type: Curved Surface Development Structure
Geometric Feature: Cone Geometry
Let's build it step by step. Follow the detailed instructions below:
Step-by-Step Guide
Step 1: Prepare the materials and understand the structure
Before making the 180 degree cone mechanism, prepare the basic tools and materials:
- Around 250g cardstock for better structural stability
- Scissors or a craft knife
- Ruler
- Glue or double-sided tape
- A scoring tool such as an empty ballpoint pen or scoring stylus
Before starting, it helps to understand what the structure really is.
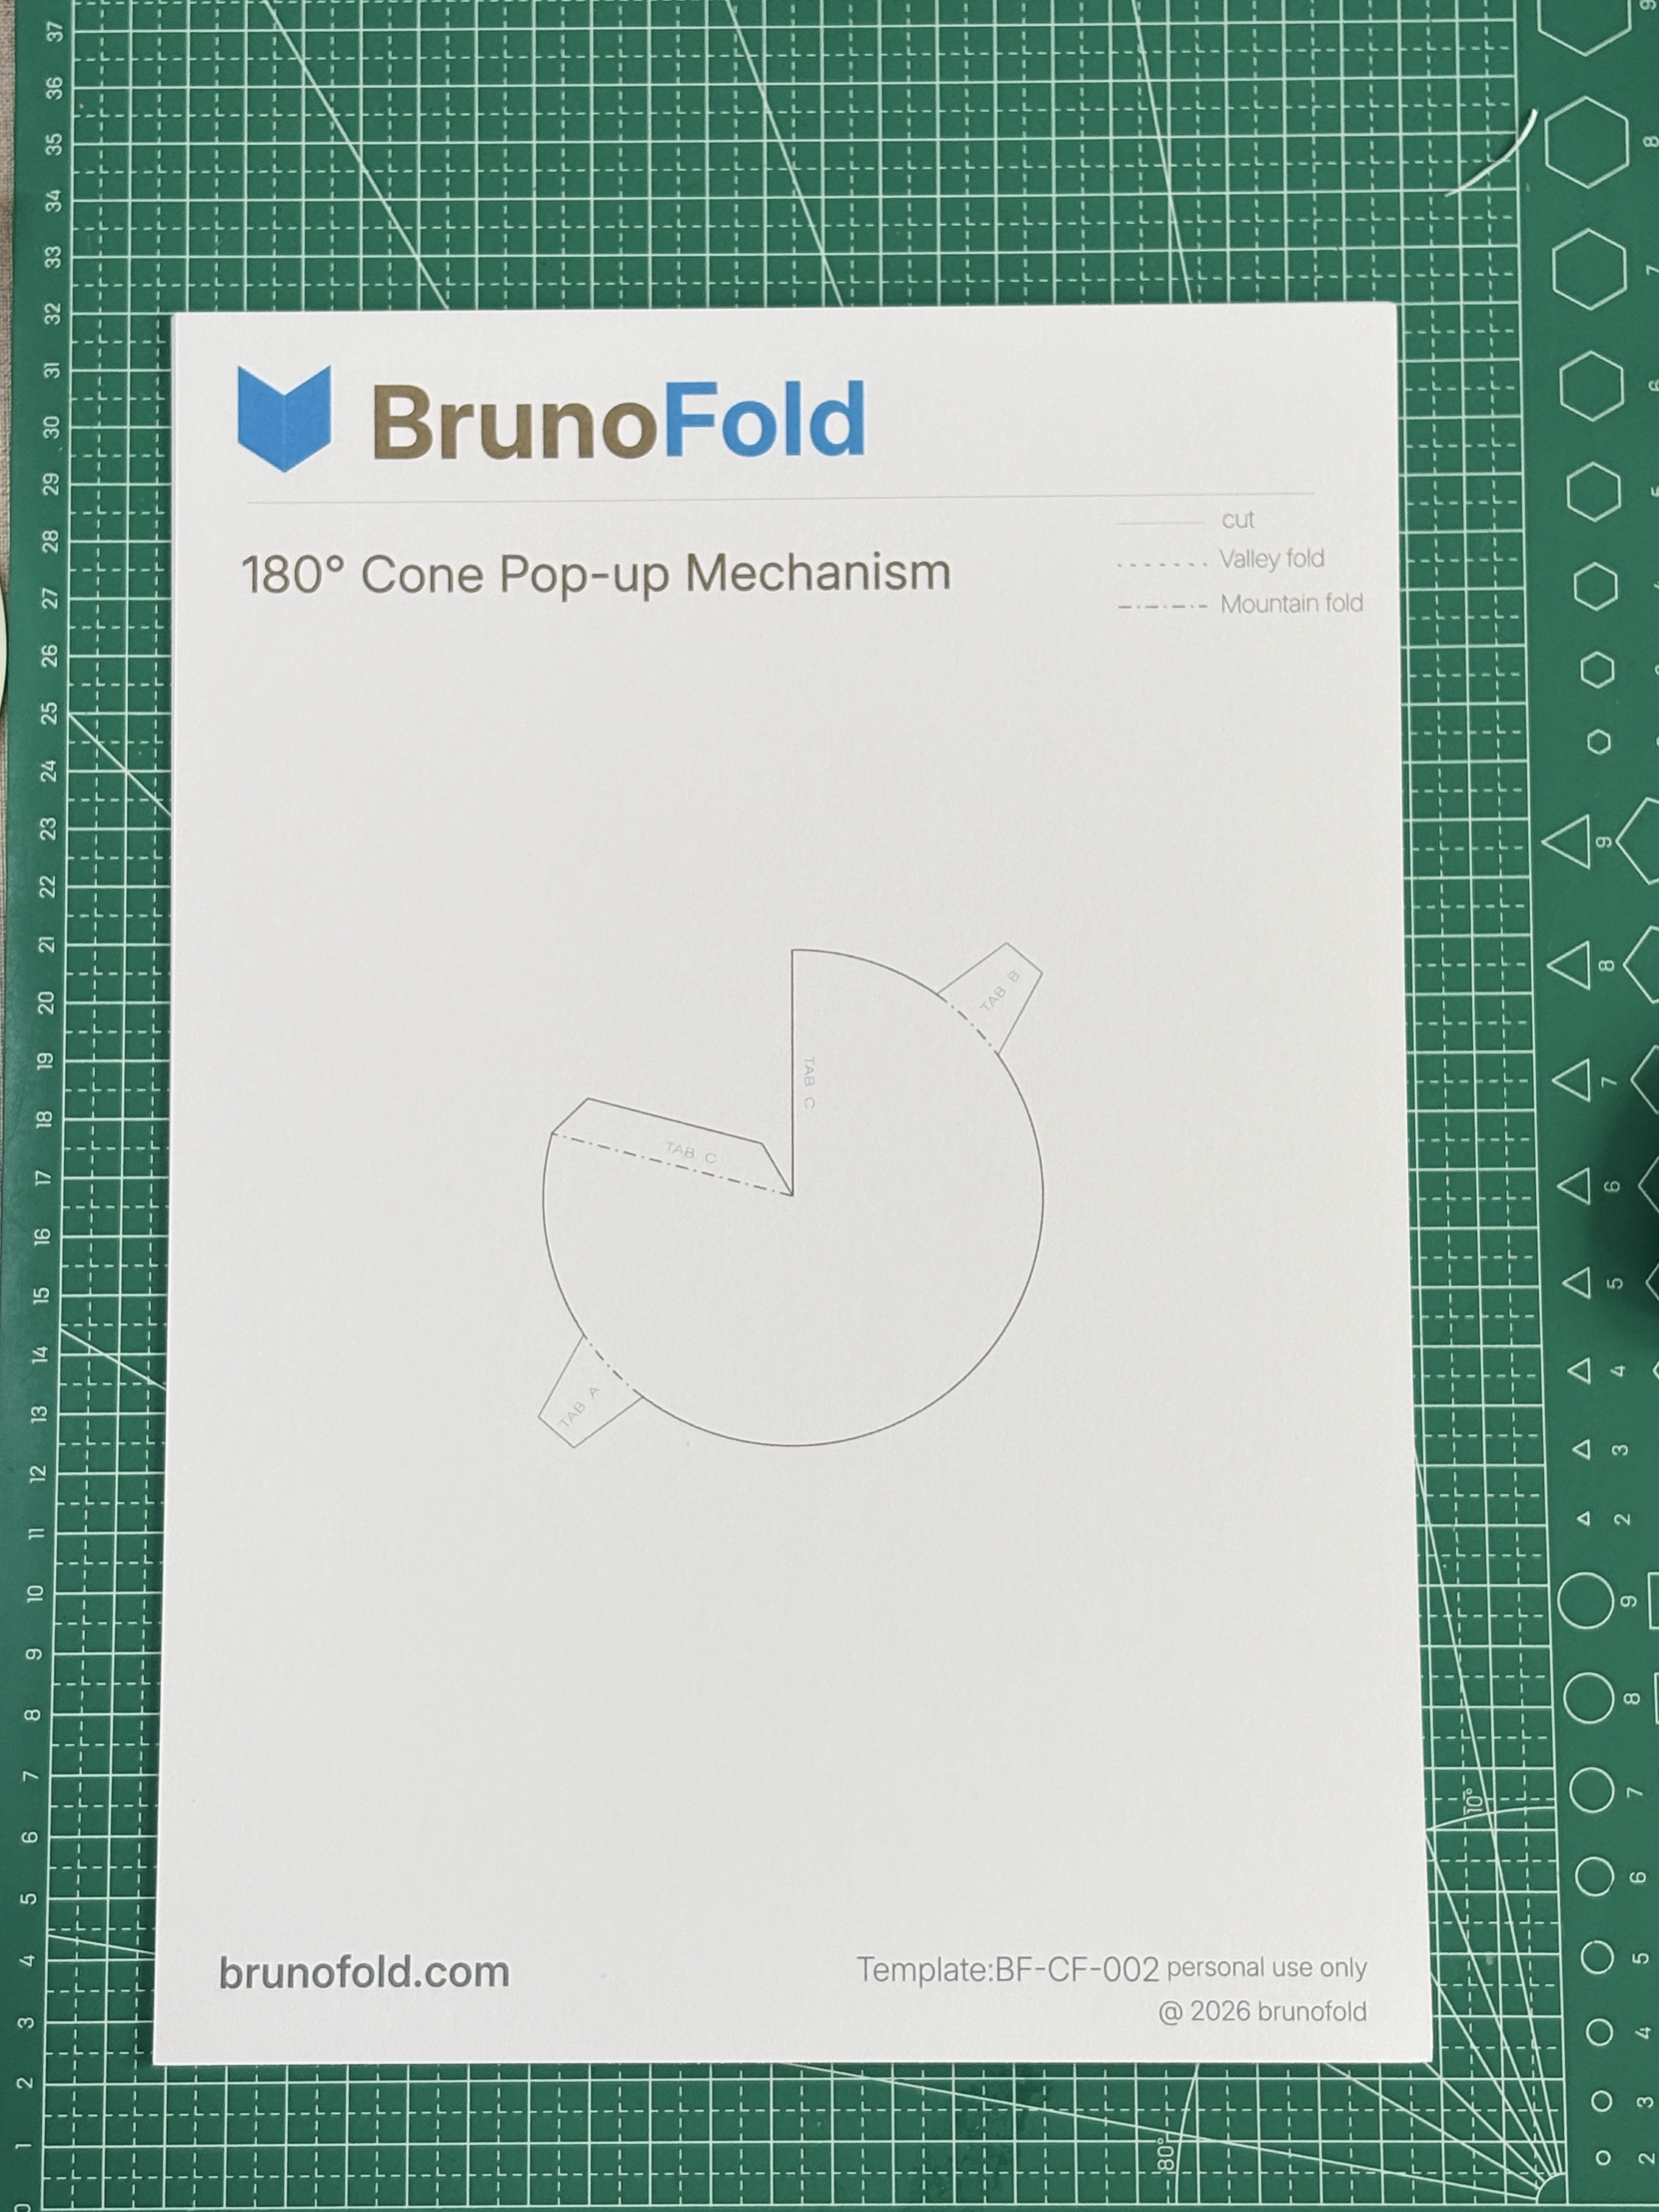
A cone is not simply "drawn" as a solid object. It is formed by rolling up a circle with one sector removed. You can think of it like this:
- Start with a full circle
- Remove one sector as a gap
- Join the two cut edges together to form a cone
The size of that missing angle determines how sharp the cone becomes, while the two side edges become the glue tabs used to lock the form in place.
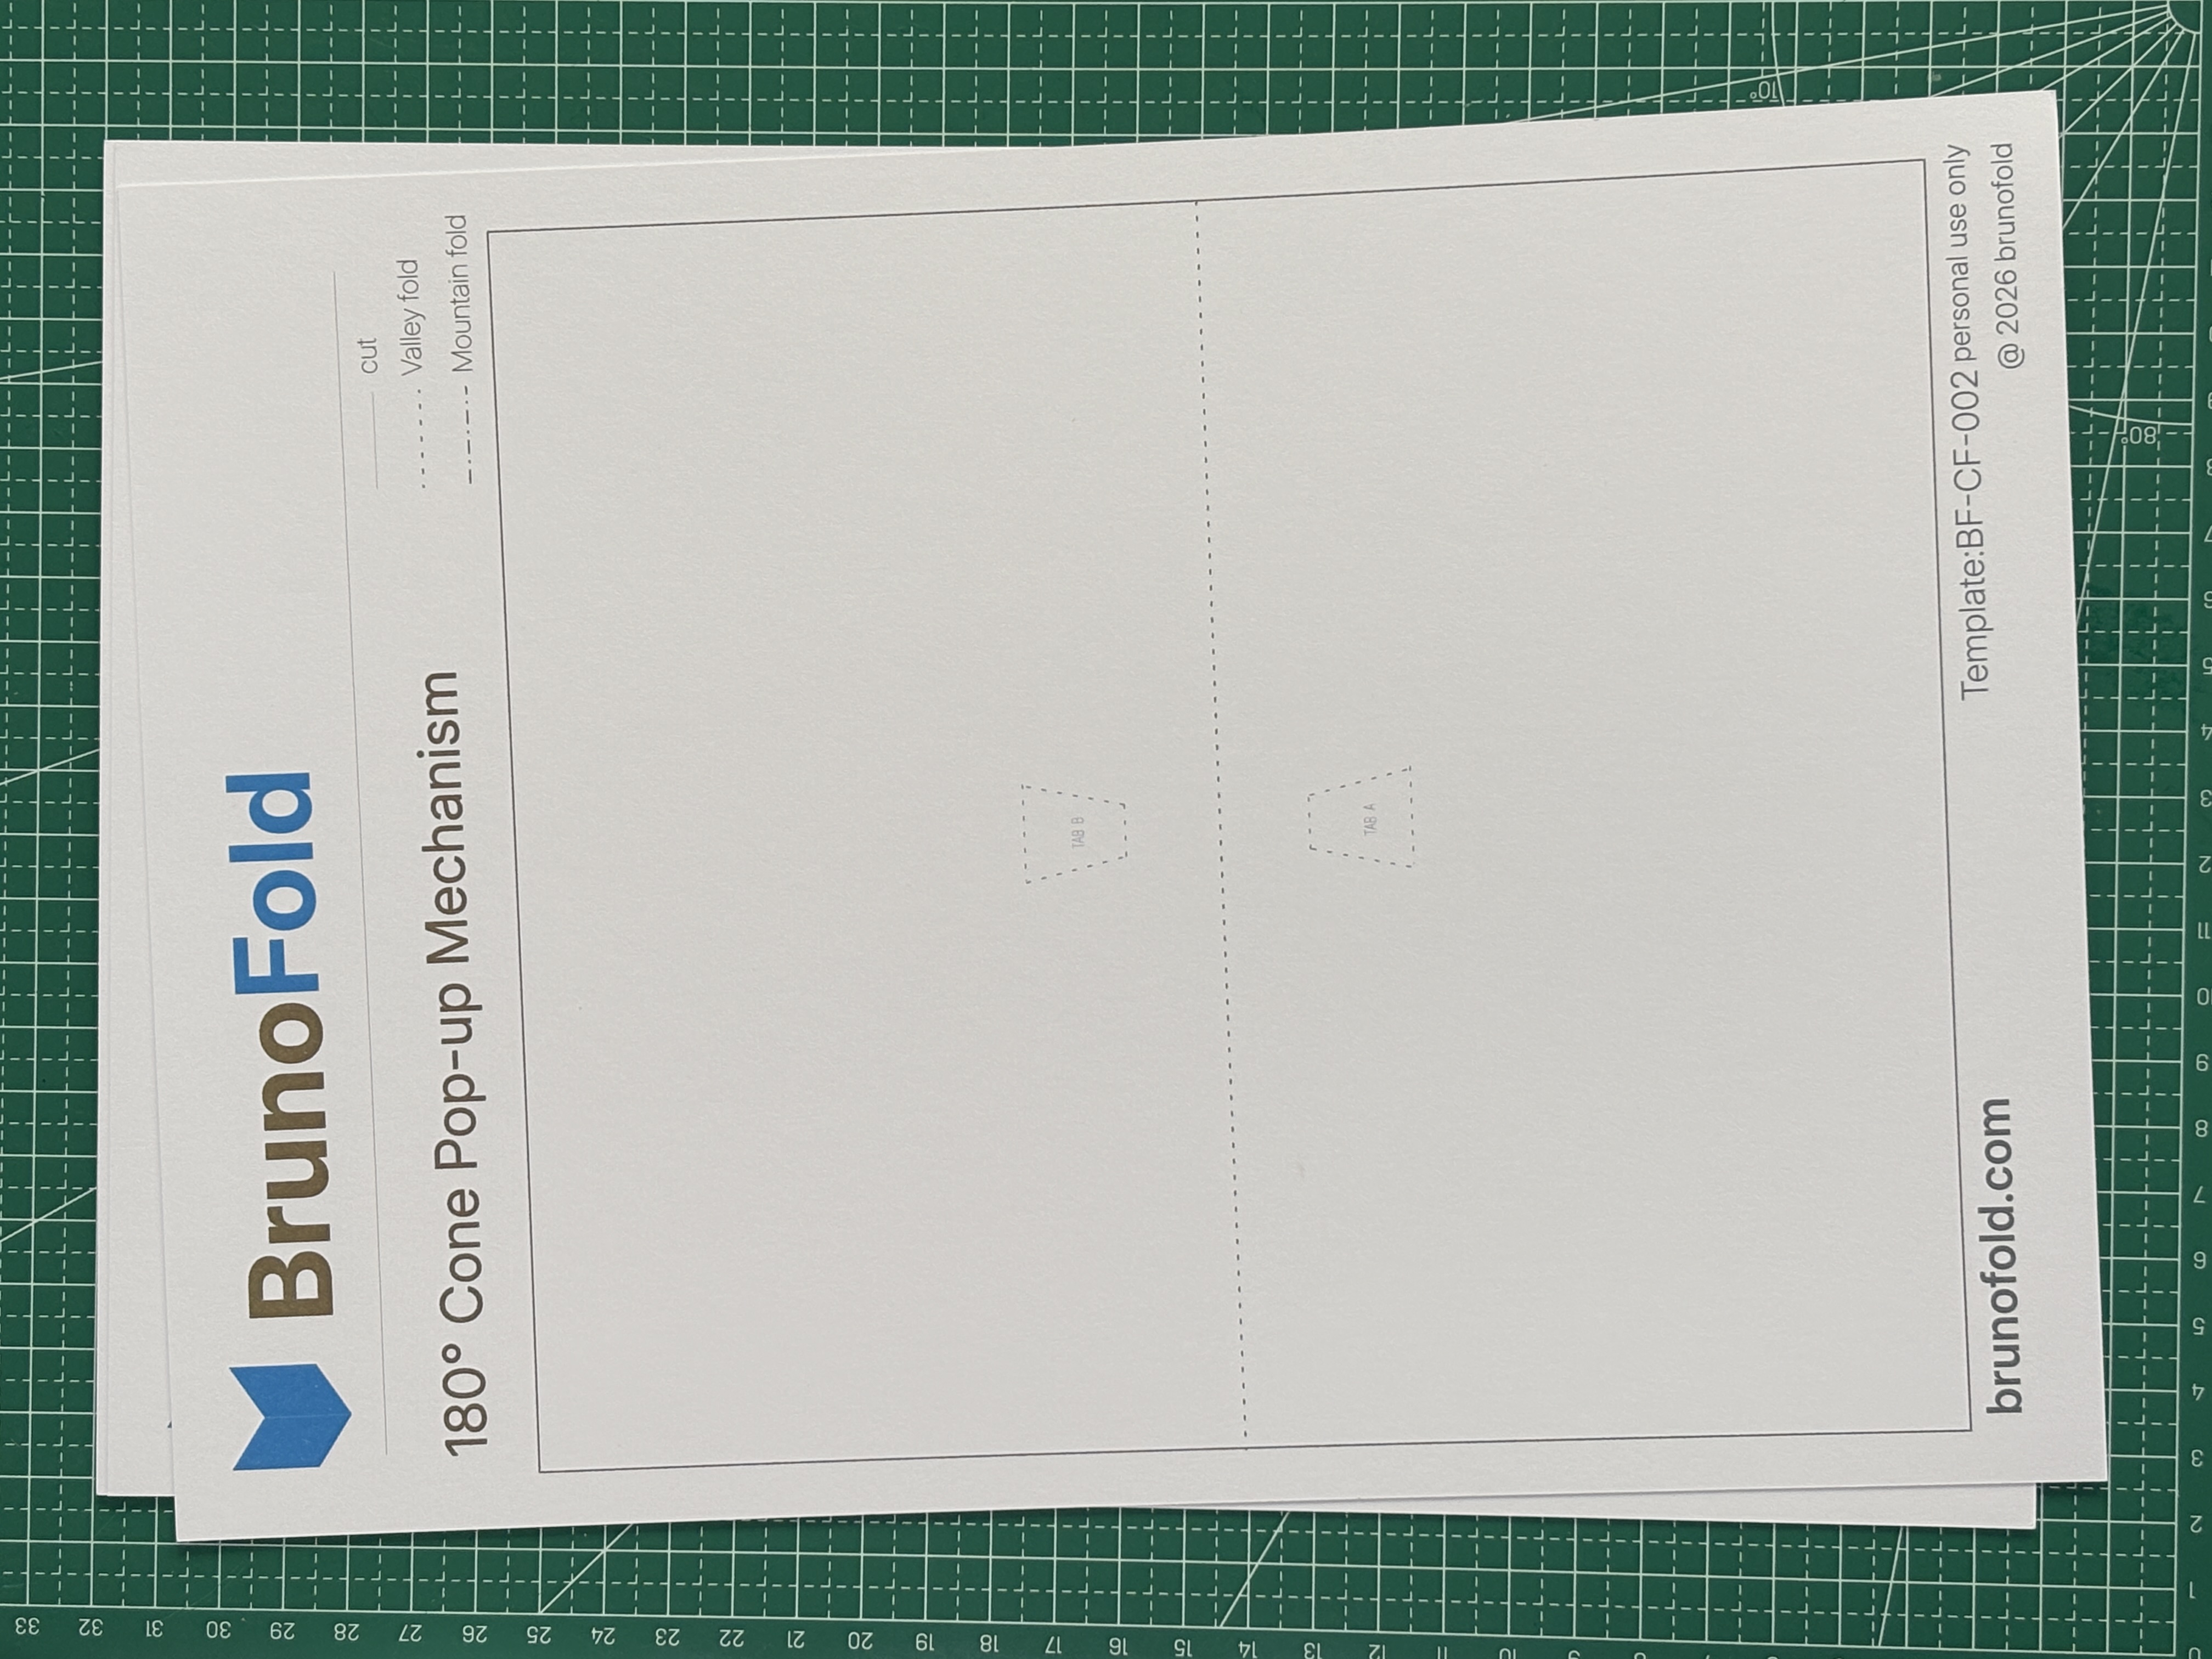
Step 2: Cut the template and score the fold lines
After printing the template, begin with the following process.
- Cut the structure
Cut along the solid cut lines to get a circular shape with a missing section, which is the sector piece that will later be rolled into the cone. Be careful to keep the glue tabs on both sides and do not cut them off by mistake.
- Score the fold lines
Find the dashed fold lines in the template. Use a ruler as a guide and press lightly with a scoring tool. Do not cut through the paper. You only need a shallow crease that guides the folding direction.
This stage matters because thick cardstock tends to resist folding. Without scoring first, the folds can drift off line, the cone may twist, and the finished form can become uneven or asymmetrical.
- Pre-fold the structure
Fold gently along the scored lines so the paper begins to curve naturally. This makes the later rolling and shaping process much easier.
Step 3: Glue the cone into shape
Once the cutting and scoring are finished, move into the shaping stage. This is the key step that determines whether the final cone looks stable and clean.
- Roll the structure into a cone
Gradually curl the cut sector along its curved edge so the two sides approach each other. Let one edge overlap the other and form the first three-dimensional cone shape. At this stage, do not glue it immediately. First adjust it by hand until the overall form looks right.
- Adjust the cone before fixing it
Before gluing, inspect the structure as a whole:
- Check whether the top point stays upright
- Check whether the base is close to a circle
- Make sure the transition between the two side edges looks smooth without obvious twisting
The main principle here is simple: shape it correctly first, then fix it permanently.
- Glue the structure
Once the form looks correct, apply glue or double-sided tape to the glue tab, align the two edges carefully, press them together slowly, and avoid any slipping. Hold the seam in place for about 10 to 20 seconds so the structure sets firmly.
- Make final adjustments
After gluing, make small refinements if needed. You can press the base lightly so it becomes closer to a circle, or adjust the cone direction slightly to keep the overall form centered.
Tip: the final quality of a cone mechanism depends heavily on the shaping work done before gluing. Spending a few extra seconds on alignment usually matters more than fixing mistakes later.
Note: Steps 2 and 3 currently reuse the Chinese visuals because separate English images were not provided.
Next Article
180° Closed Tent Pop-up Mechanism Tutorial | Stable Three-Dimensional Structure Guide