Overview
The 180 degree cylinder mechanism is a paper-engineering structure that uses parallel fold lines and curved-surface development logic to turn a flat sheet into a stable cylinder as the spread opens. During the motion, the paper moves from a flat state to an arched surface and finally forms a complete cylindrical volume, which gives the mechanism strong spatial presence in pop-up books, installations, and creative paper projects.
Its core logic is to treat the cylinder as a rectangular surface that can be unfolded. Once the page opens toward 180 degrees, the left and right attachment edges move apart, the center panel is pushed upward, and the surface bends naturally into a cylinder.
Mechanism Category
Primary Category: 180 Degree Structure
Structure Type: Curved Surface Structure
Mechanism Name: Cylinder Mechanism
Let's fold it together. Here are the step-by-step instructions:
Step-by-Step Guide
Step 1: Prepare the tools and understand the structure
Before starting, prepare the following tools and materials:
- 250g cardstock, preferably a stiffer sheet for better structural stability
- Scissors or a craft knife
- Ruler
- Empty ballpoint pen or another scoring tool
- Glue or double-sided tape
Structurally, the core of the 180 degree cylinder mechanism is to unfold the cylinder into a rectangular curved surface, then connect both sides back to the base so the form rolls itself up into a cylinder as the spread opens.
The key ideas are:
- A cylinder is essentially a curved surface that can be unfolded into a rectangle
- When the page opens to 180 degrees, the left and right sides pull apart
- The center rectangular surface is pushed upward and bends into a cylindrical form
This is essentially a transition from a flat plane to a curved surface and then to a three-dimensional volume.
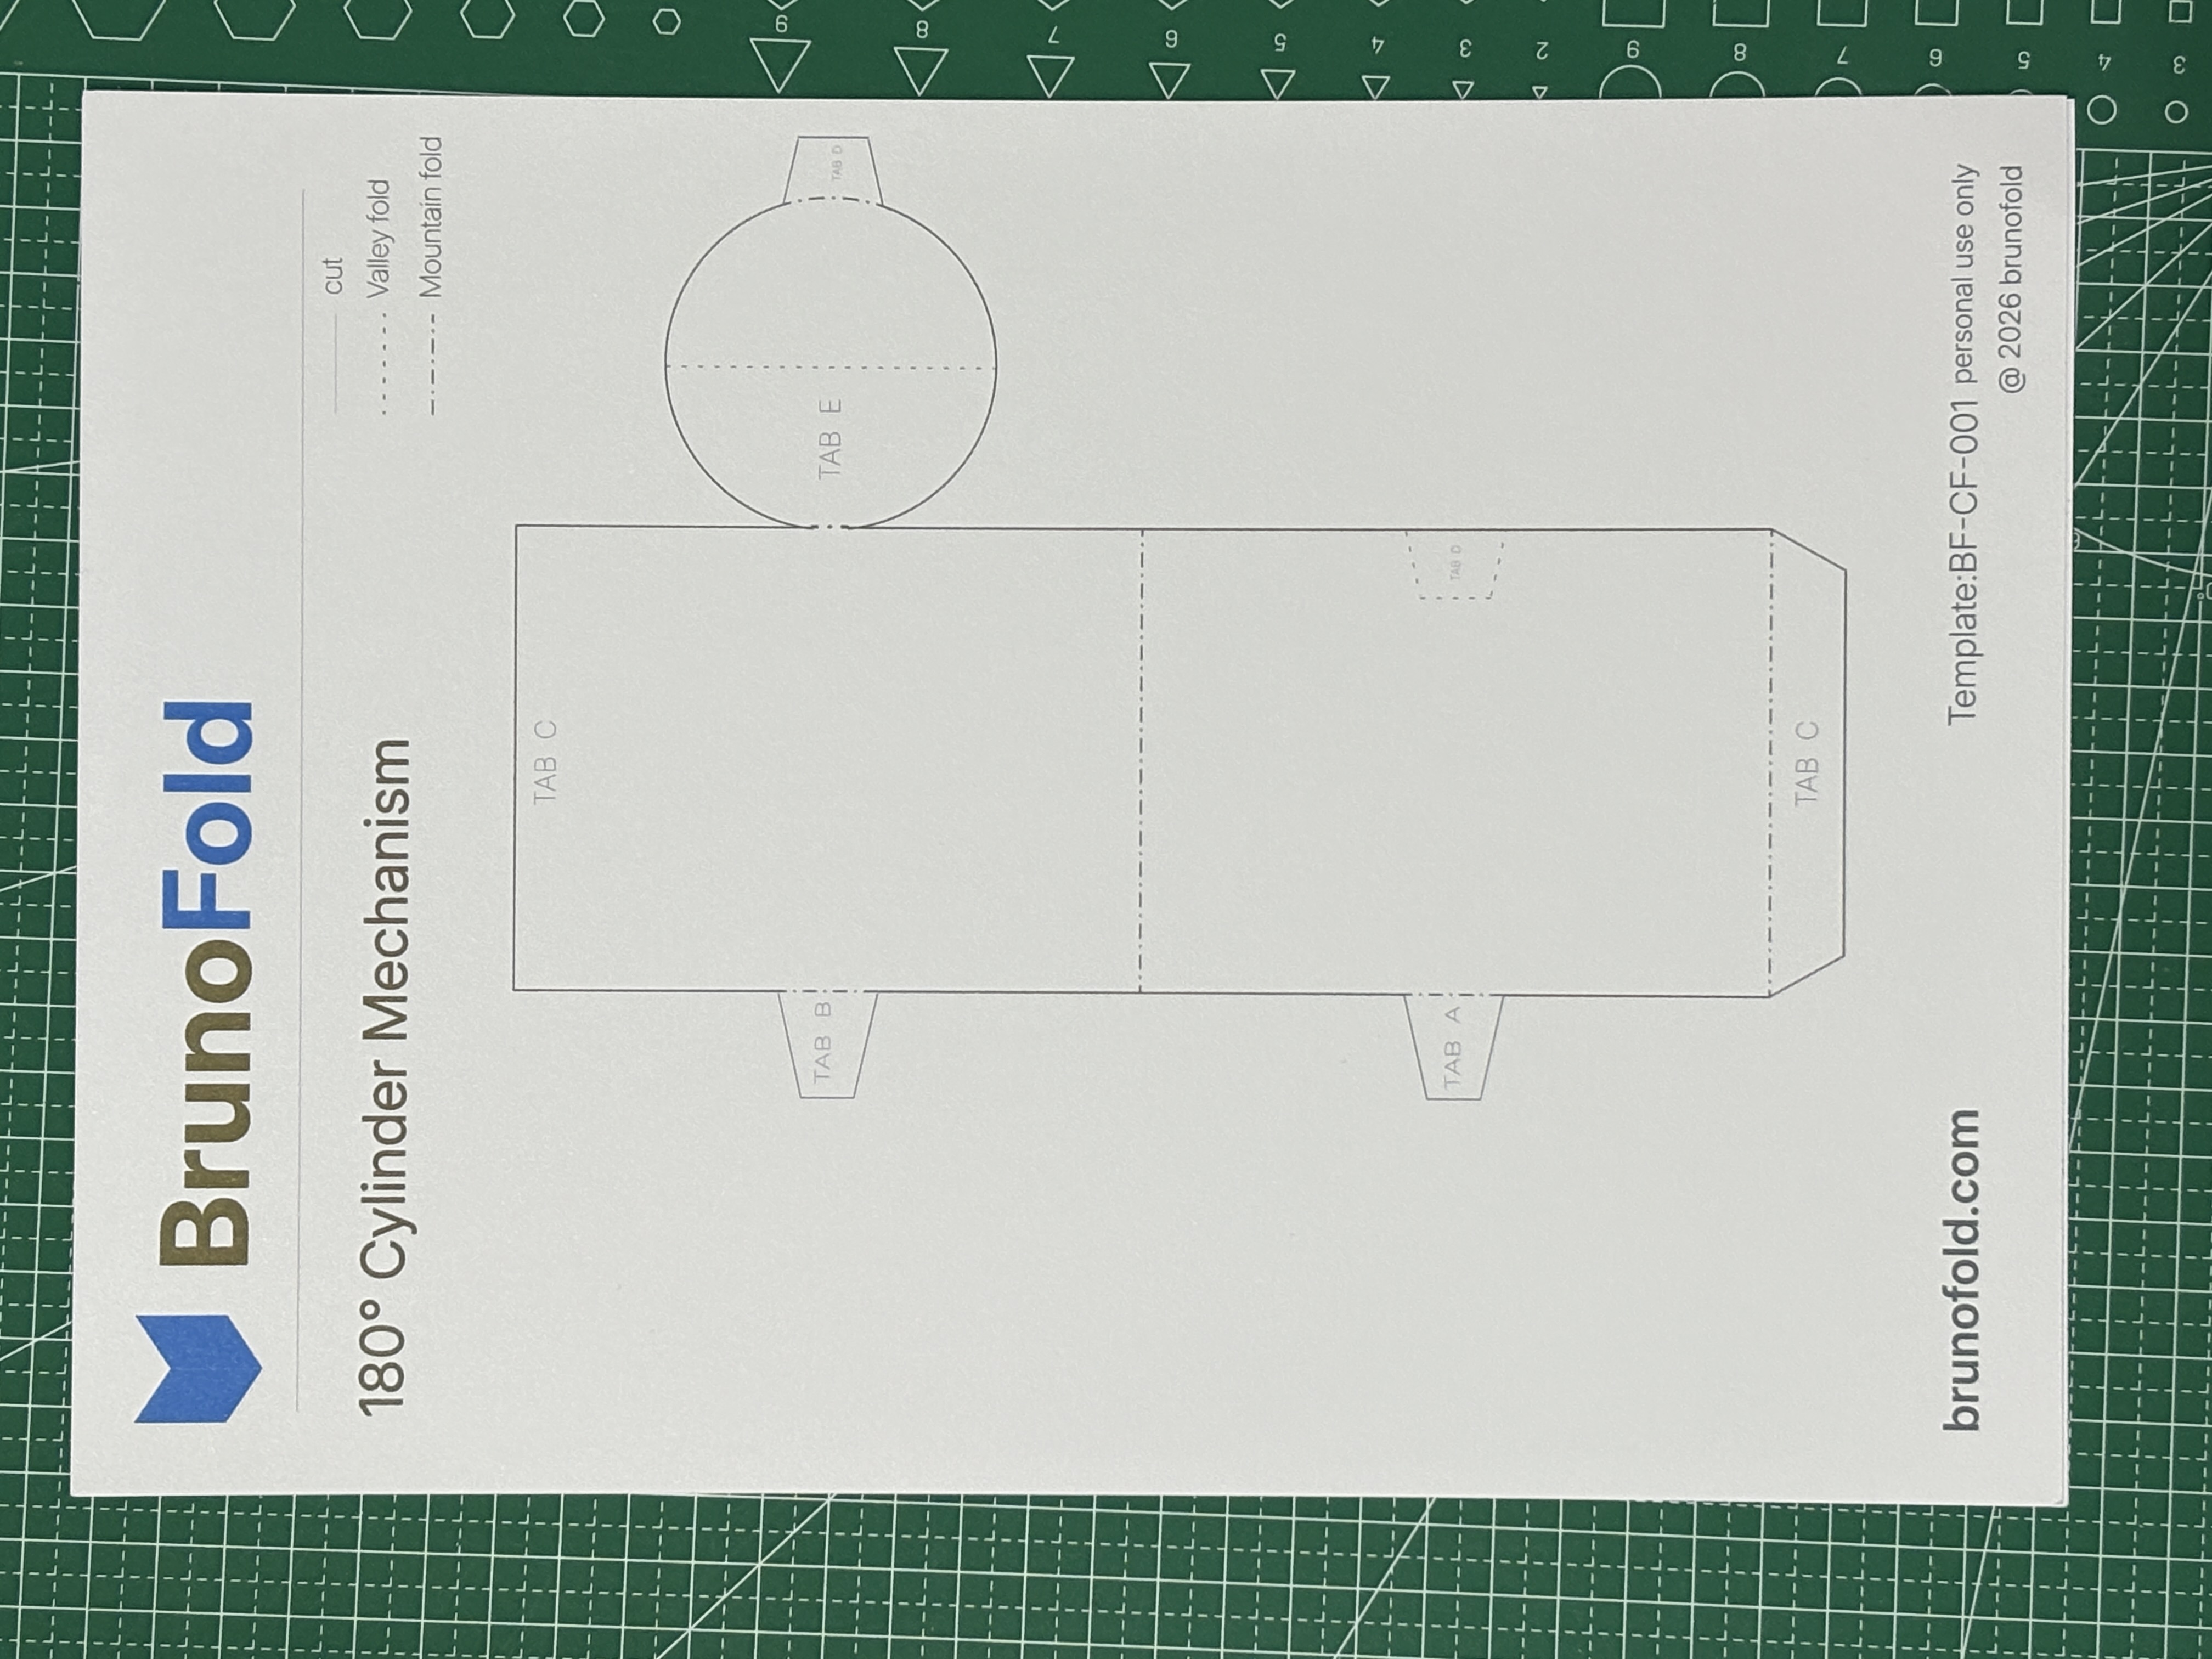
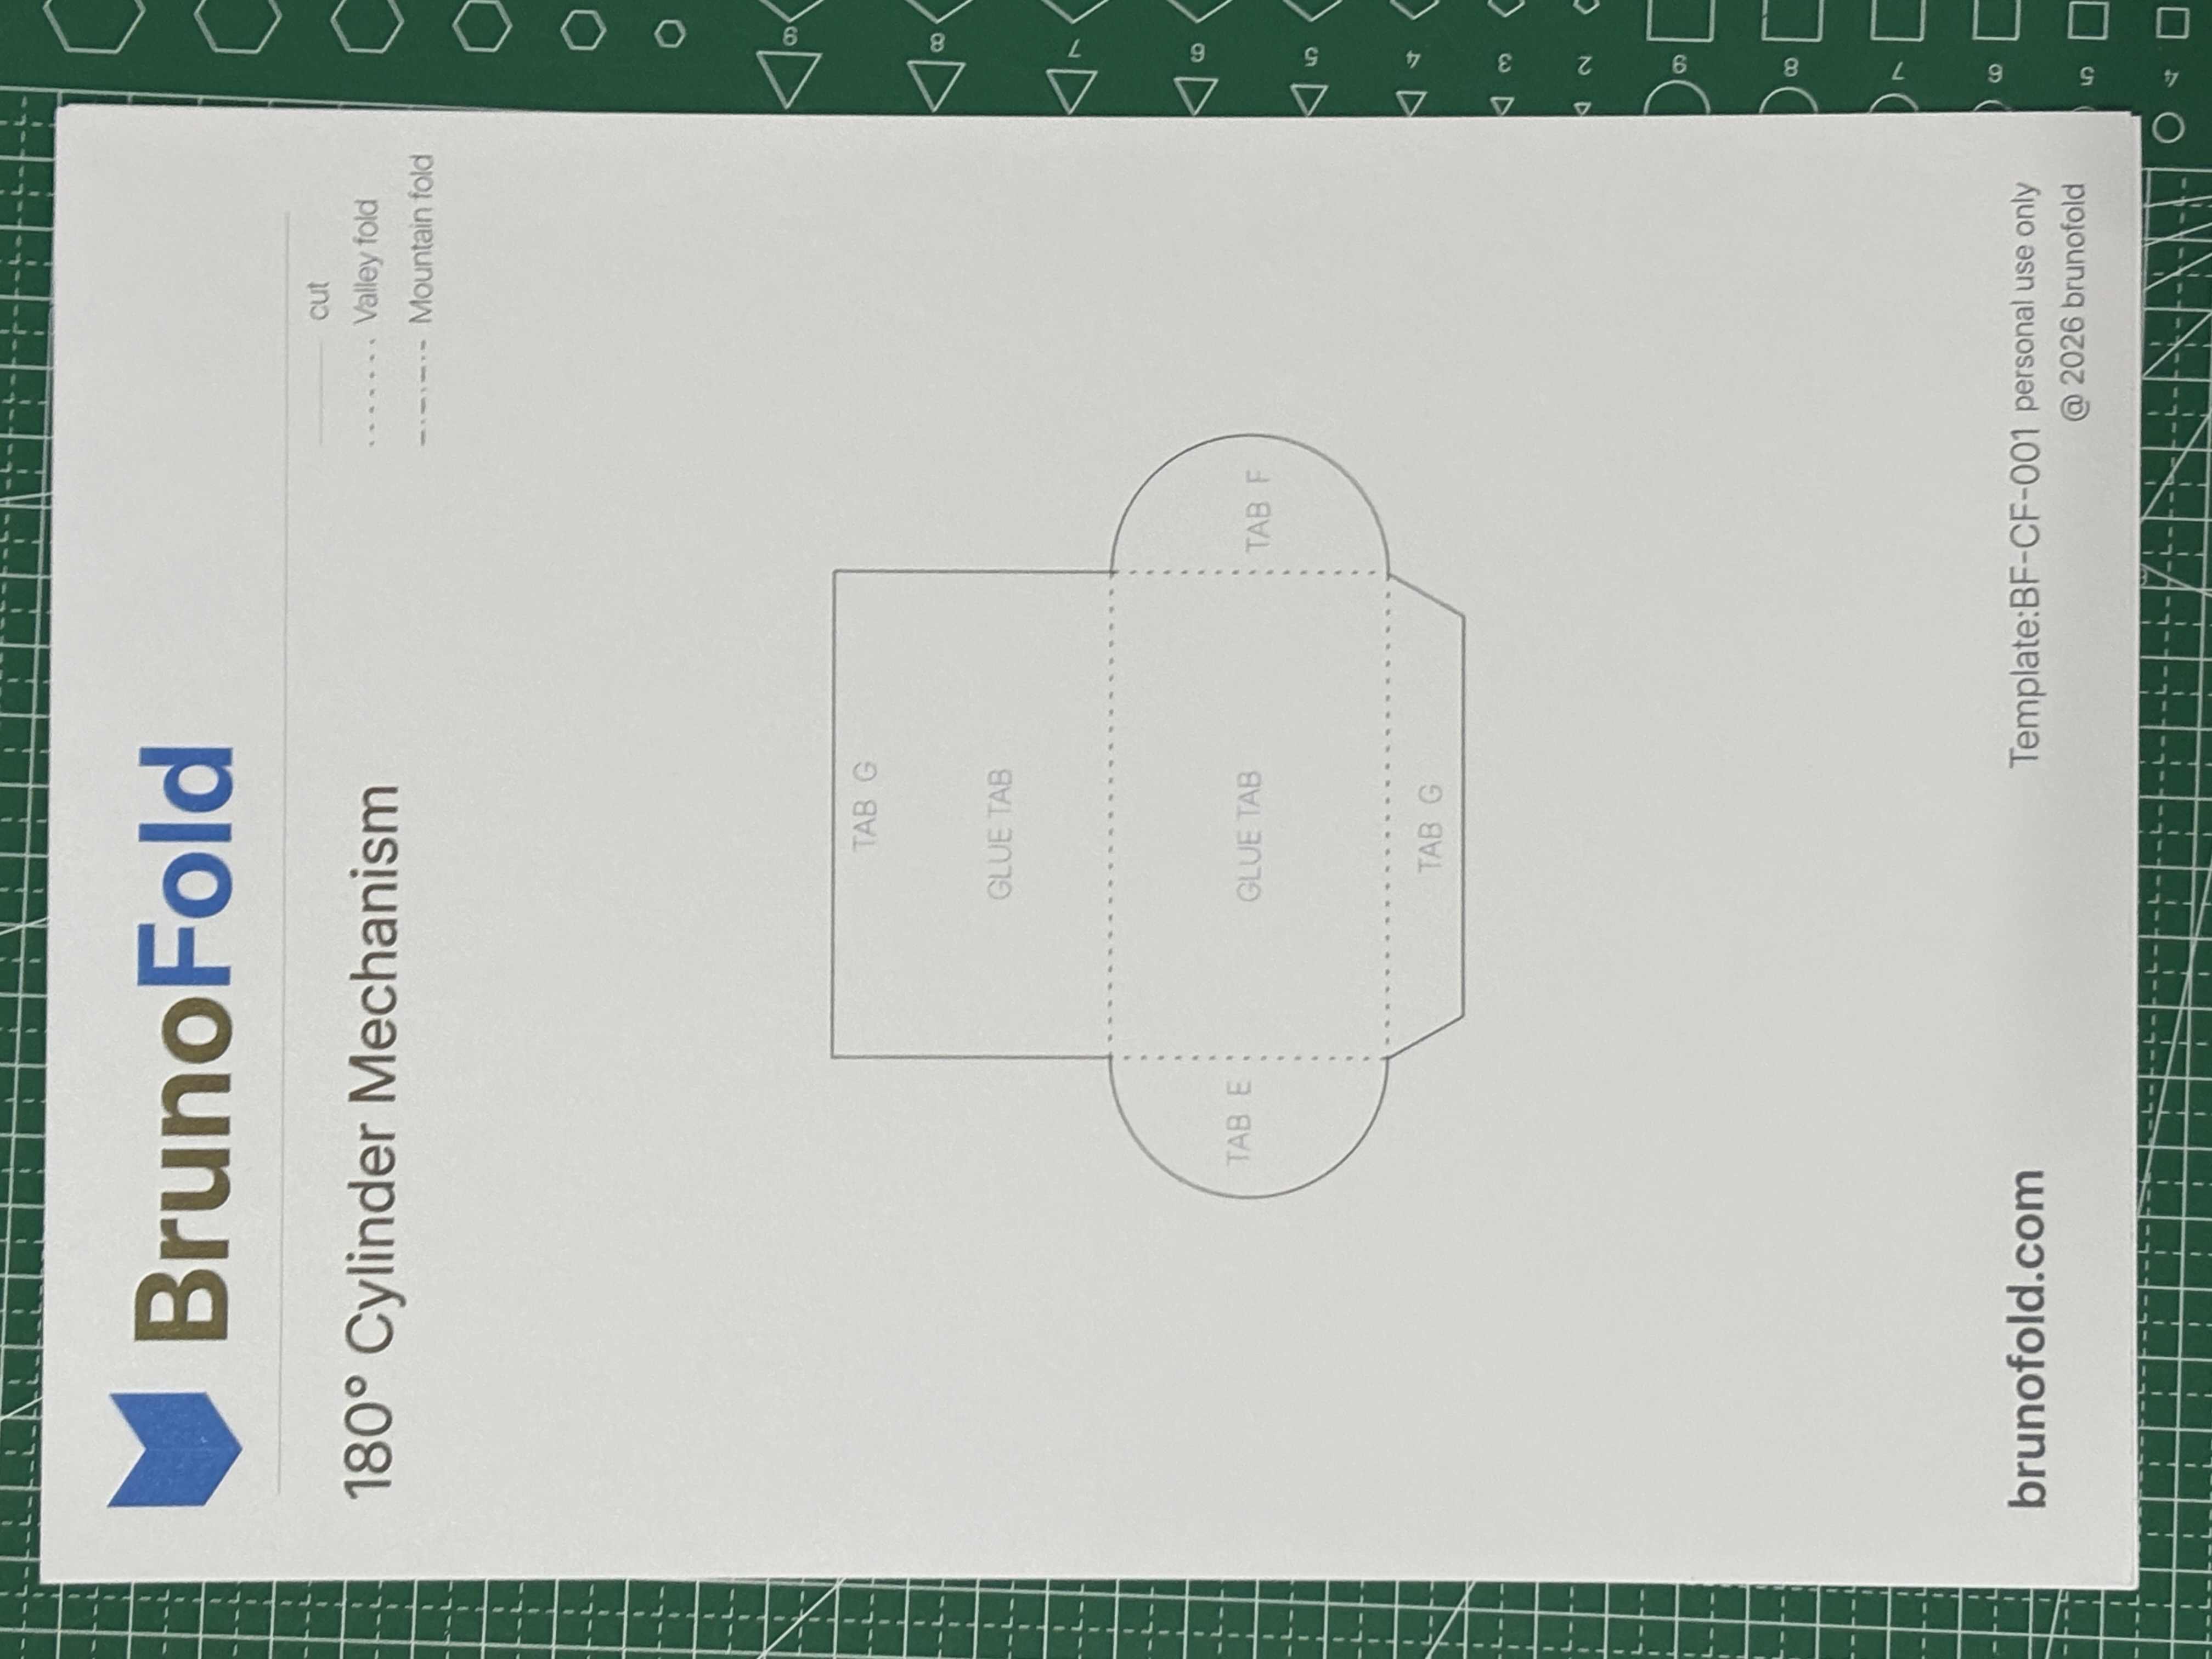
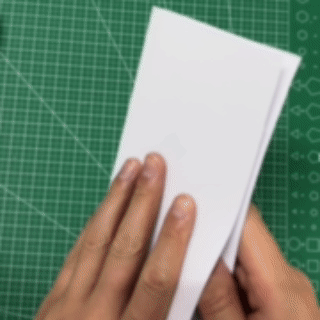
Step 2: Cut the template and score the fold lines
After printing or drawing the template, start by cutting along the solid lines to get the full structural component.
The next stage is critical: scoring.
Follow this process:
- Find the dashed lines in the template
- Align a ruler with each dashed line
- Use an empty ballpoint pen or a scoring tool to slide lightly along the line
- Create a clear crease without tearing the paper
Keep these points in mind:
- The cylinder area is usually divided into several vertical segments, similar to using a polygon to approximate a circle
- The more segments the structure has, the closer the final shape will be to a true cylinder
- Scoring quality directly affects how smooth the cylinder will look after assembly
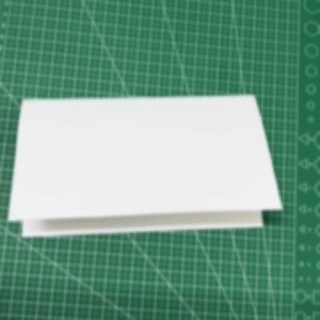
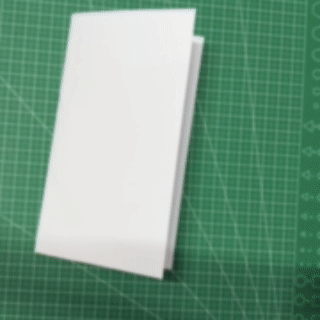
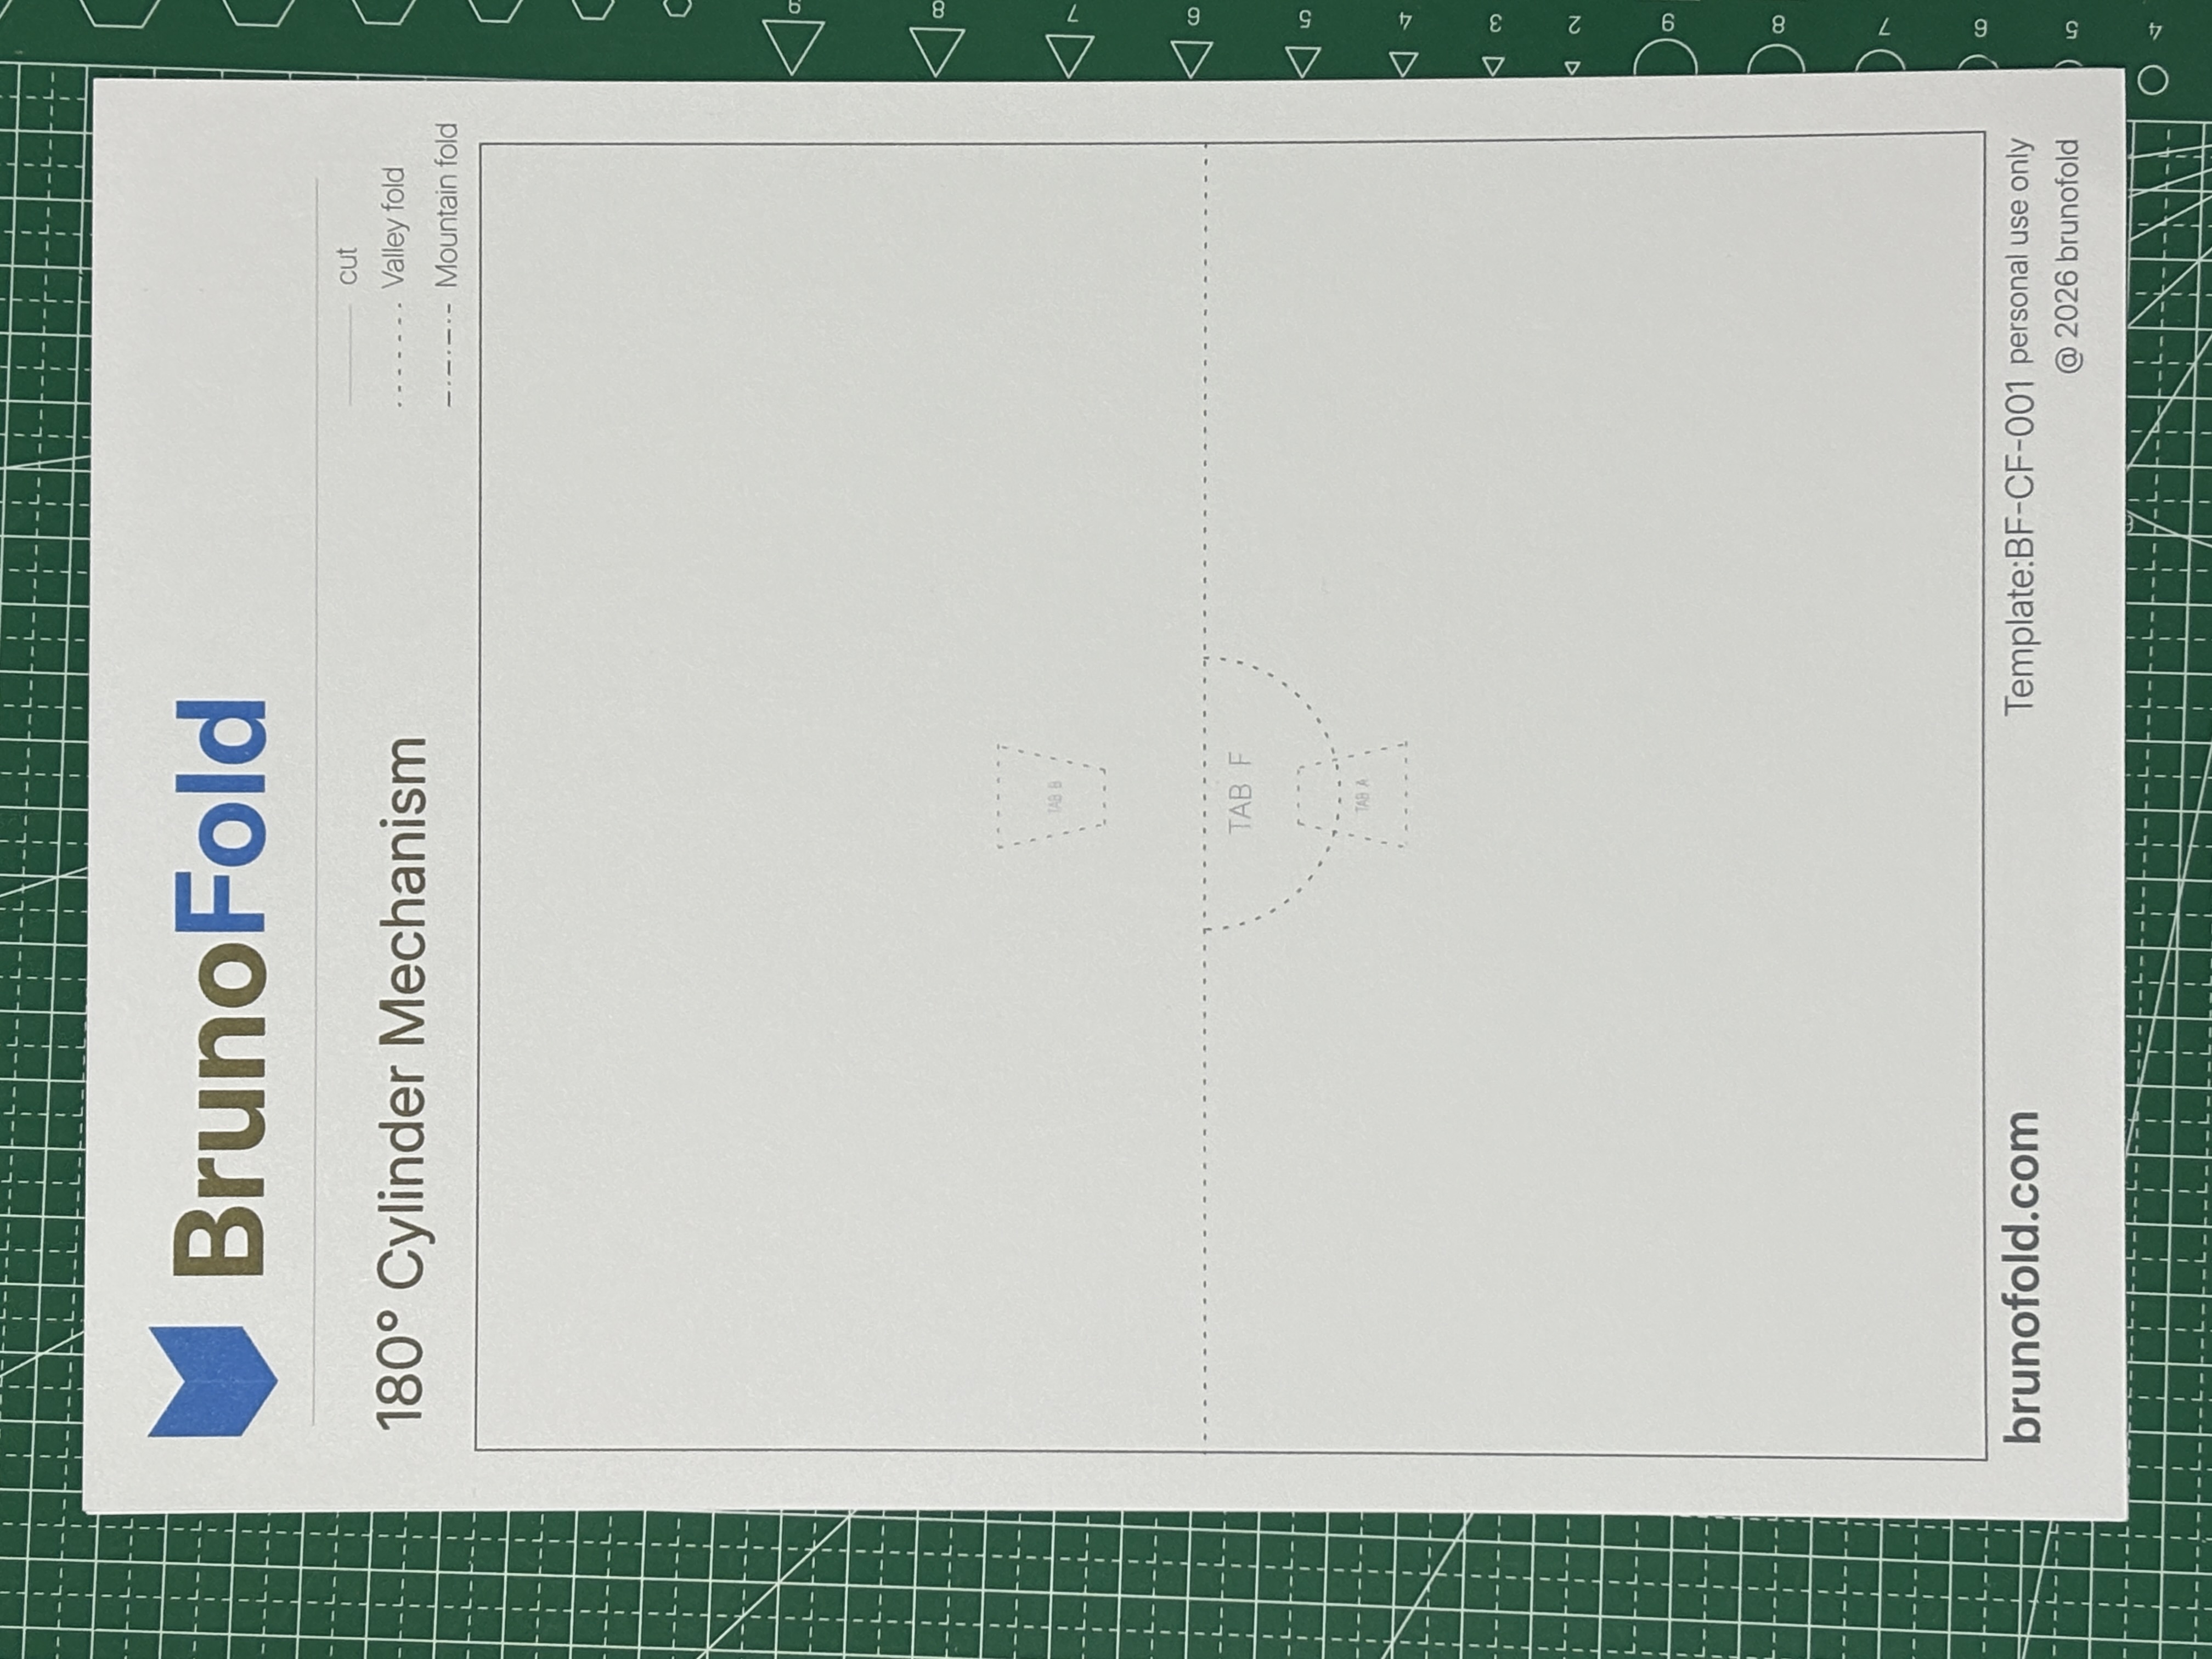
Step 3: Fold and glue the structure into a cylinder
After scoring, fold along the crease directions:
- Pre-fold all vertical creases in sequence, usually with alternating mountain folds and valley folds
- Glue the connection tabs on both sides of the structure to the left and right sides of the base page
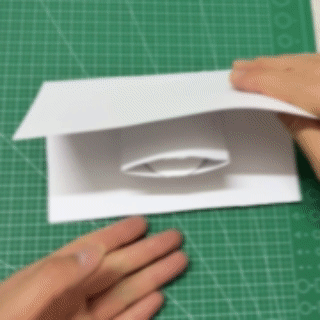
After gluing, test the opening motion:
- When the page is closed, the structure should collapse completely flat
- When the page opens to 180 degrees, the middle section should rise up
- The original rectangular curved surface will bend naturally under tension and become a cylinder
If the structure is designed correctly, you will see a complete three-dimensional cylinder pop up from the page.
Note: Step 2 and Step 3 currently reuse the Chinese visuals because separate English versions were not provided.
Next Article
180° Box with a Parallel Platform Pop-Up Mechanism: Structure and Assembly Guide