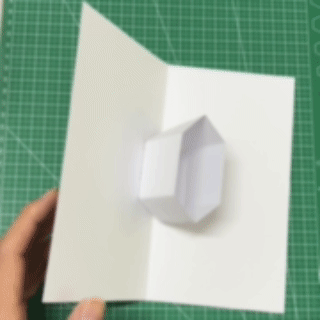
The 180 degree parallel cube mechanism is a classic pop-up structure built from parallel fold lines. As the page opens from the closed state to 180 degrees, the flat layout expands into a complete and stable cube form.
Its left and right connections move together through a symmetrical linkage, so the cube rises automatically as the spread opens. The structure is clear, stable, and visually direct, which makes it a strong transition model between beginner and intermediate pop-up work. It also fits gift-box displays, architectural mockups, and scene-building projects very well.
Mechanism Category
Primary Category: 180 Degree Three-Dimensional Structure
Structural Principle: Parallel Fold Mechanism
Structural Type: Box Structure
Visual Form: Cube Mechanism
Let's fold it together. Here are the step-by-step instructions:
Step-by-Step Guide
Step 1: Prepare the materials and tools
Before making the 180 degree parallel cube mechanism, prepare the basic tools first. This structure is a typical parallel-fold pop-up form, so paper stiffness and fold accuracy have a direct effect on the final result and overall stability.
Materials and tools:
- 250g Dutch cardstock, recommended
- Craft knife or scissors
- Glue or double-sided tape
- Cutting mat
- Ruler for scoring support
Cardstock around 250g gives the cube enough support to stay stable when the structure is fully opened to 180 degrees. It is much less likely to collapse or deform. If you use thinner paper, the cube edges can lose definition and the structure may feel loose.
Before starting, print the template on the cardstock and make sure the lines are clear. In particular, check that the cut lines and fold lines are easy to distinguish, because that will affect the accuracy of every later step.
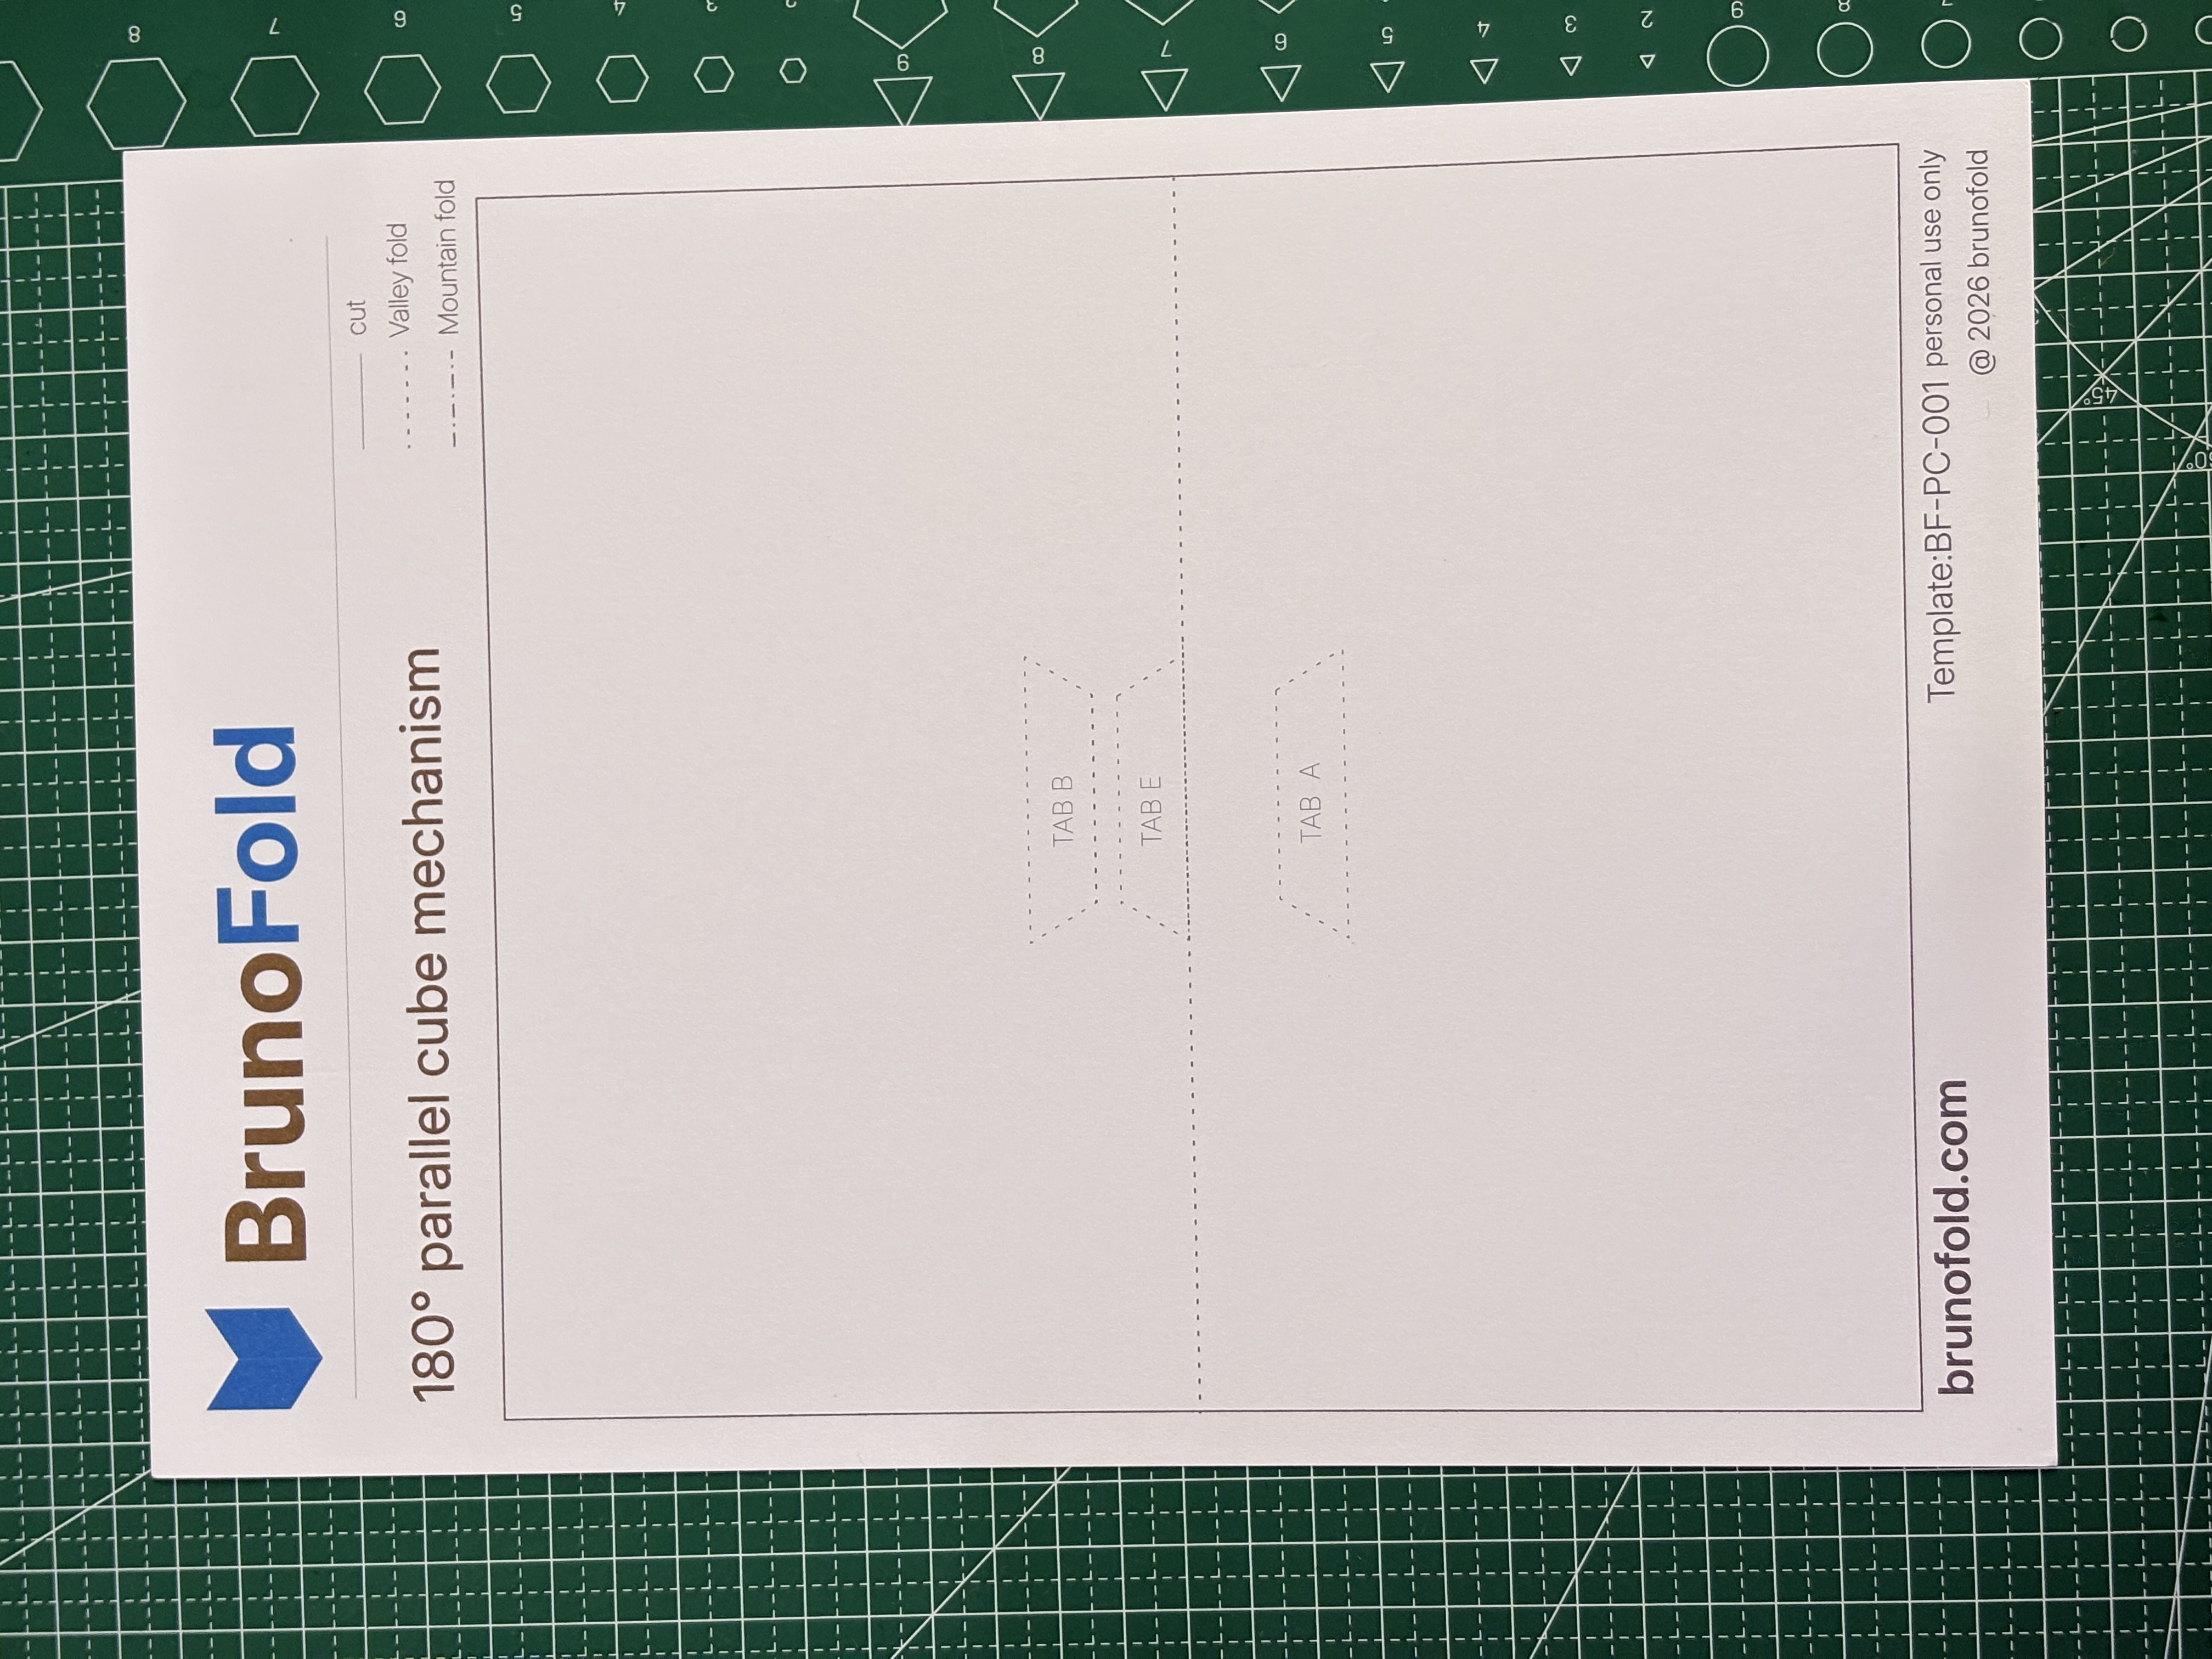
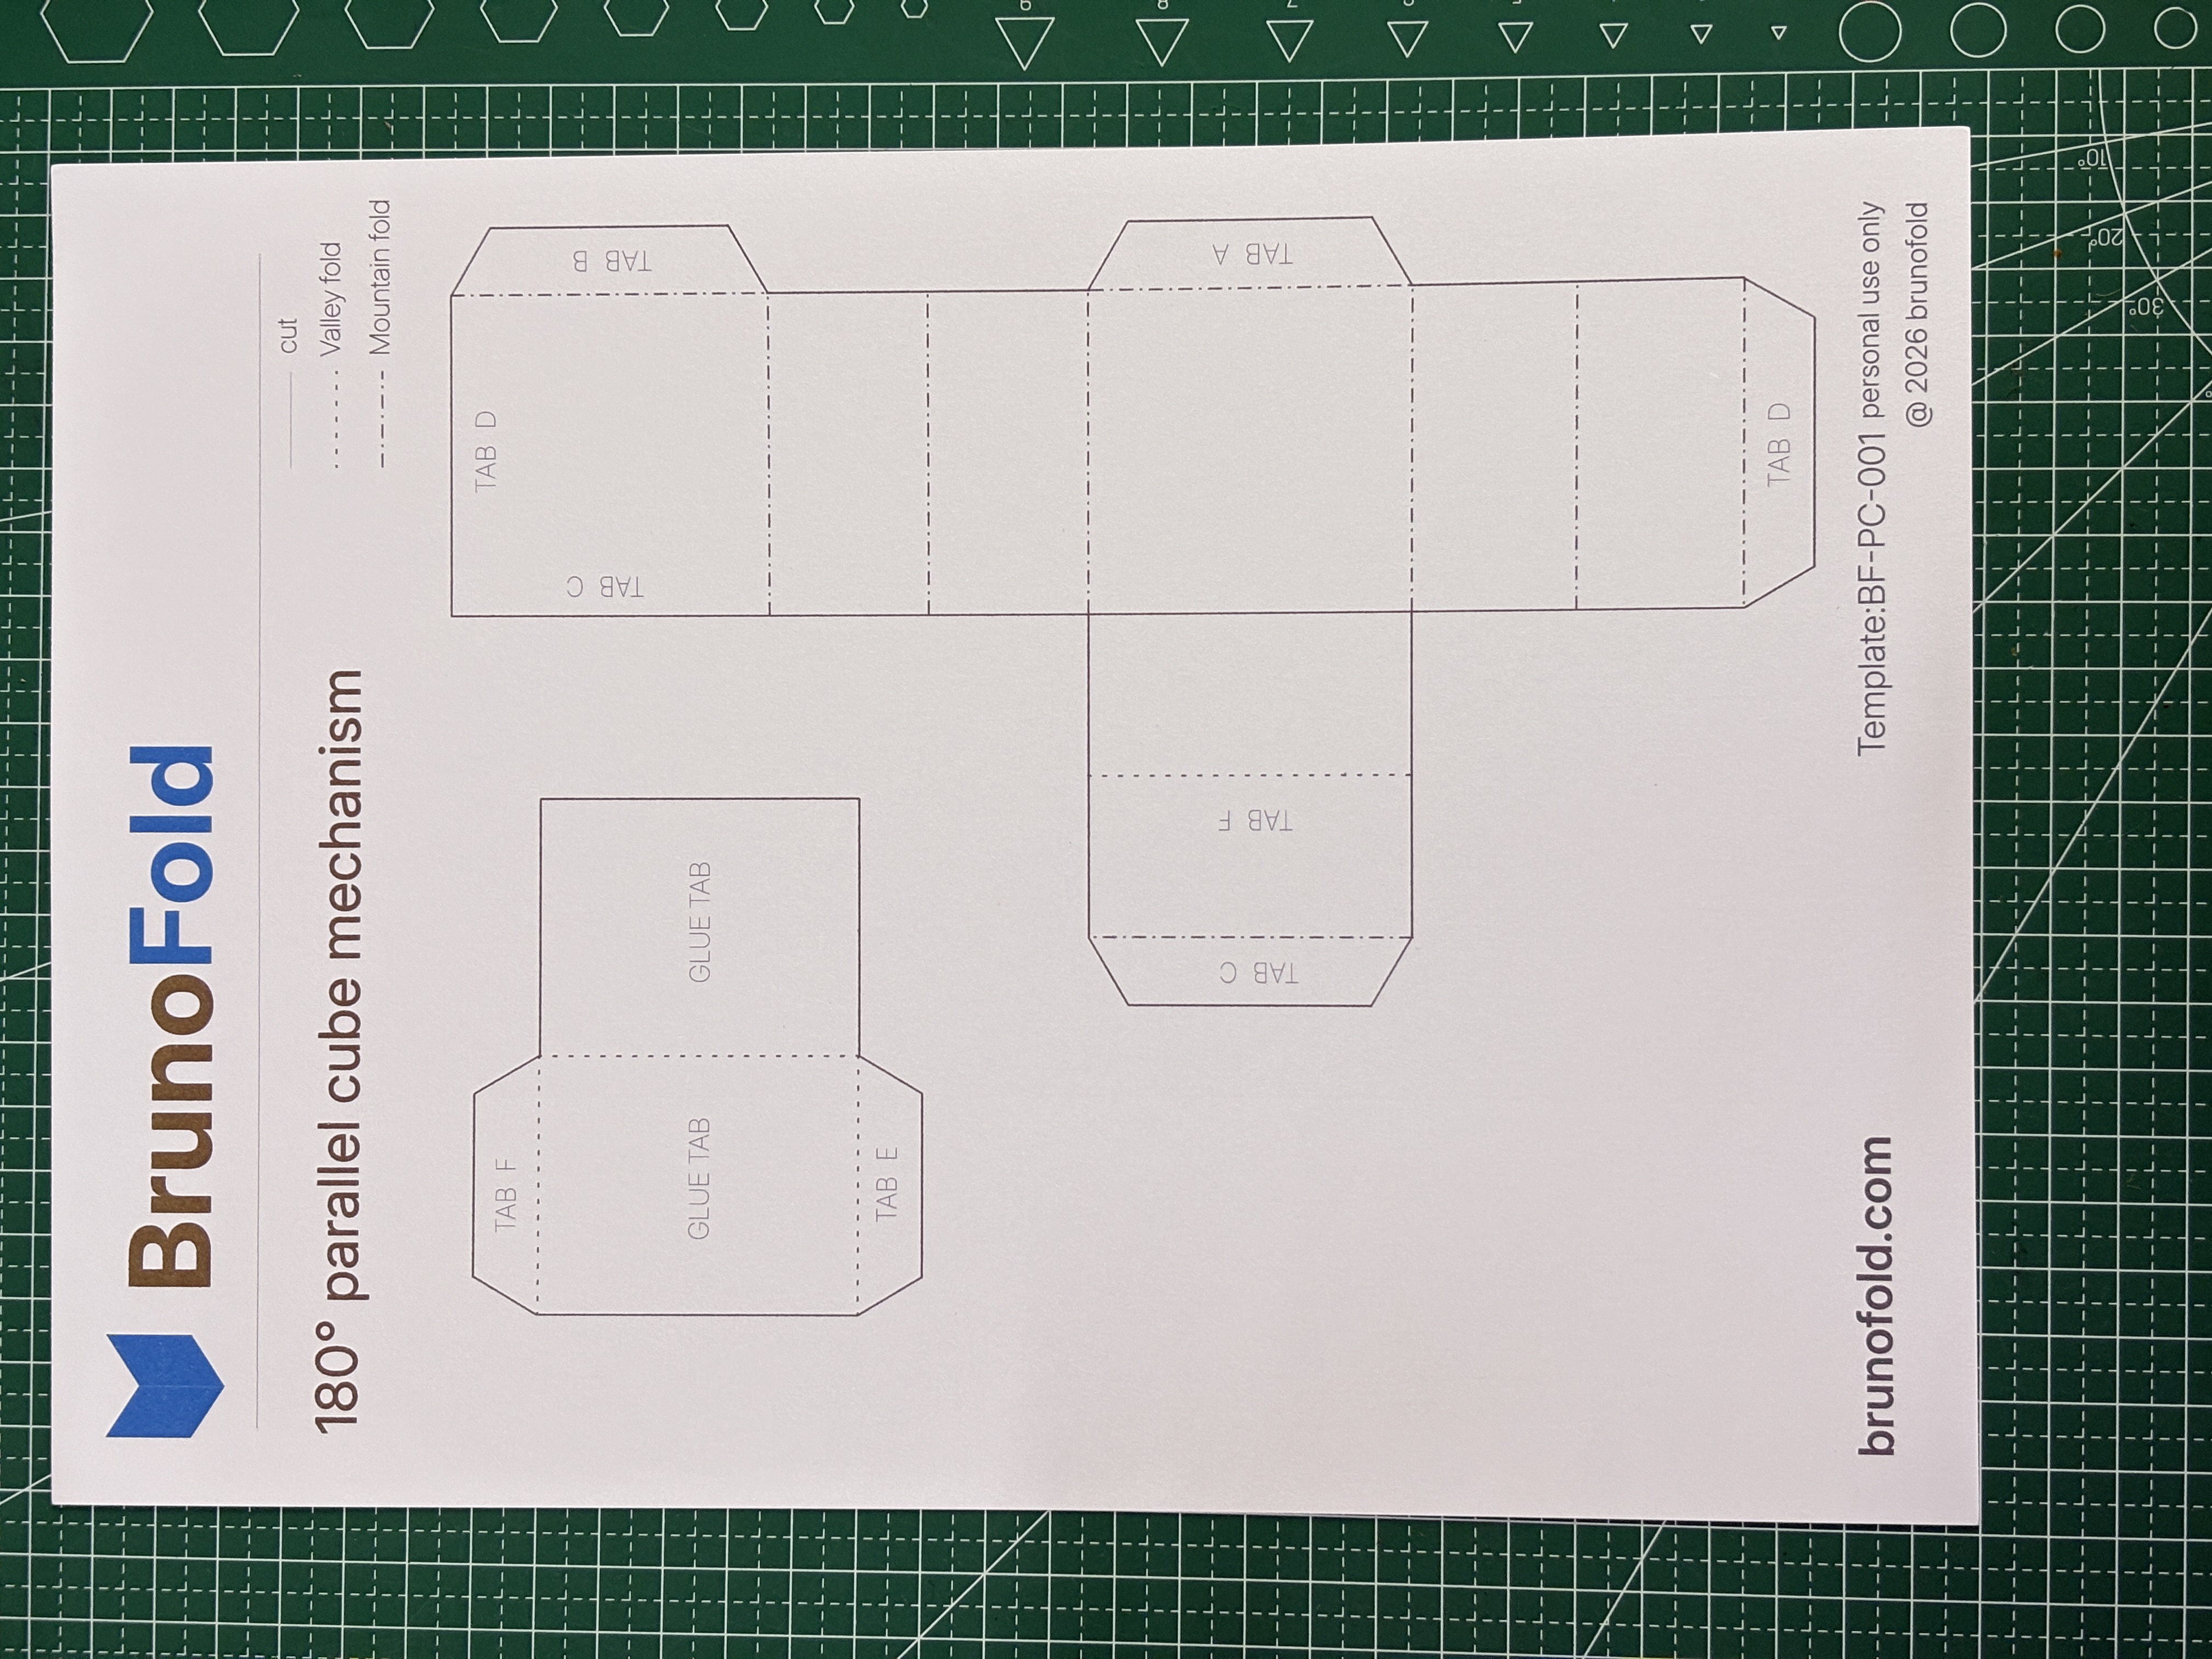
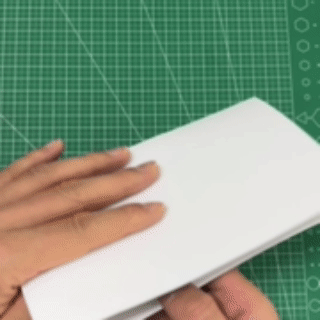
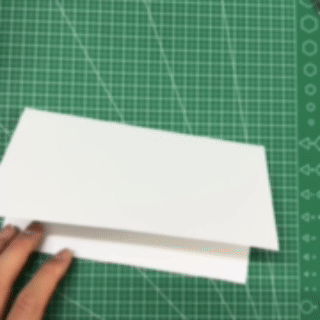
Step 2: Cut the template and score the fold lines
After the tools are ready and the template is printed, move on to cutting and scoring.
First, cut along the solid lines in the template. You can use scissors for simple cuts, or use a craft knife with a ruler when you want cleaner and more precise edges. After cutting, you will have the flat base layout of the cube mechanism.
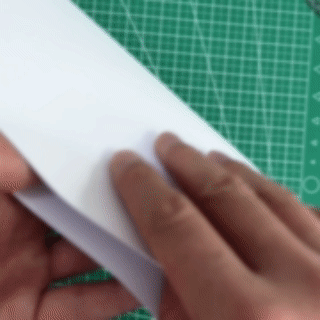
The next stage is very important: scoring.
Why is scoring necessary?
Because cardstock is relatively thick, folding it directly can lead to crooked creases, wrinkles on the surface, or even structural drift. Scoring in advance helps the paper remember the folding path, which makes the later folds cleaner and more accurate.
How to score:
- Find the dashed fold lines in the template
- Align a ruler with each fold line
- Use an empty ballpoint pen, a scoring tool, or another blunt tool to press and slide lightly along the line
- Apply enough pressure to create a clear crease guide without damaging the paper
The precision of this step directly affects whether the finished cube looks clean and square.
Step 3: Fold the structure and form the cube
After cutting and scoring, you reach the most important stage: folding.
Because 250g cardstock is relatively stiff, this is not a step to rush. Patience matters more than speed. Follow the scored lines gradually instead of forcing the folds into place all at once.
A good folding method is:
- Bring the fold line out lightly first so the paper can bend naturally
- Deepen the crease little by little until the line becomes clear
- For stiffer connection areas, use several light folds instead of one heavy press
While folding, test the opening motion at the same time. Open the page gently to 180 degrees and check whether the structure rises into a cube smoothly. Then close it slowly and make sure the structure retracts cleanly and lies flat.
If some edges do not align well enough, adjust the fold line or score it again before continuing.
Once all the folds are complete, you will see a cube structure that pops up automatically as the page opens. That spatial transformation is one of the most classic effects created by a parallel fold mechanism.
Note: Step 2 and Step 3 currently reuse the Chinese visuals because separate English versions were not provided.
Next Article
180 Degree Boat Fold Structure Guide | Principle and Making Tutorial